Affiliate disclosure: This article contains affiliate links. If you click and purchase, we may earn a commission at no extra cost to you.
Table of Contents
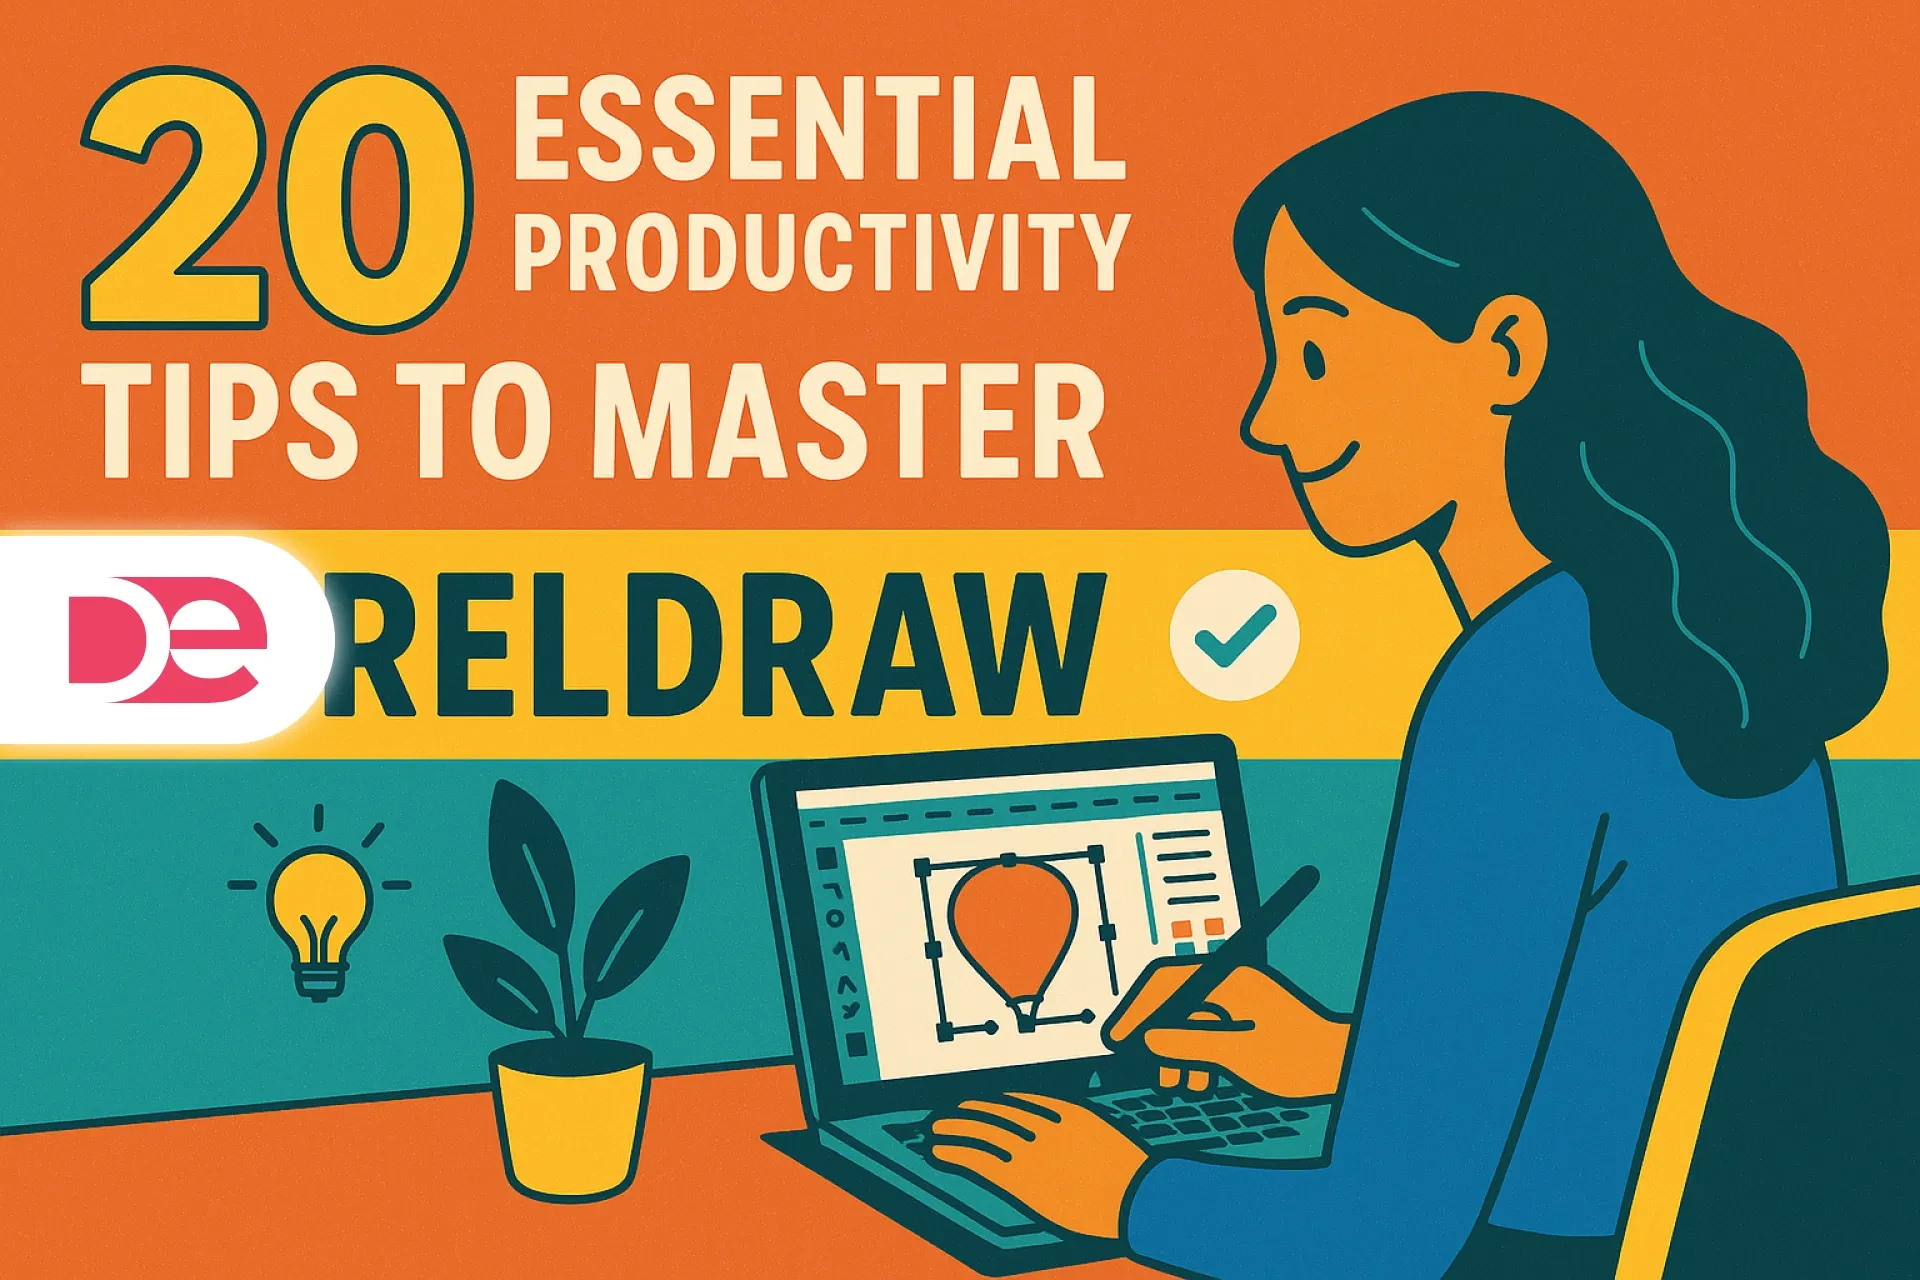
If you’re wondering what CorelDRAW is really good for, the short answer is: almost any 2D design task that needs clean, scalable vector graphics—plus photo editing and reliable print output. From logos and brand kits to signage, packaging, apparel, social posts, and precise prepress PDFs, CorelDRAW Graphics Suite gives you an end-to-end workflow: draw vectors, fine-tune typography, color-manage for print, convert bitmaps to vectors, retouch images, and export production-ready files. In the video used as input for this article, the presenter (Spanish) emphasizes practical tasks like adding curves, shadows, and perspective, editing nodes and vanishing points, applying textures and gradients, and transforming freehand sketches into precise shapes—exactly the kind of work CorelDRAW excels at. If you want to try it as you read, here’s a handy link: Get CorelDRAW Graphics Suite.
What CorelDRAW is (and how it fits your workflow)
CorelDRAW Graphics Suite is a professional toolkit that combines CorelDRAW (vector illustration and page layout) with Corel PHOTO-PAINT (pixel-based editing), along with supporting utilities. You can design vectors, lay out multi-page documents, retouch images, and export print-ready or web-ready assets—all in one ecosystem. The 2025 release extends the suite with improvements such as CorelDRAW Web, Advanced Print to PDF workflow upgrades, and enhanced Painterly Brush tools, while keeping staples like AI-powered PowerTRACE for bitmap-to-vector conversion.
What the video adds:
• Curve, shadow, and perspective tools to shape objects and create depth.
• Node and vanishing-point editing for precise control of geometry.
• Rich color work with gradients, textures, and palette combinations.
• Artistic effects like brushstrokes and silhouettes for stylized compositions.
• Image tweaks—focus, noise, and texture—when mixing photos into vector layouts.
These align with built-in features such as Mesh Fill (for smooth tonal transitions), vector/bitmap pattern fills, shadow and perspective tools, and non-destructive bitmap effects you can apply right in the workflow.
A quick tour of flagship capabilities
Vector illustration & page layout
• Draw precise shapes, edit nodes, and manage perspective grids for realistic depth.
• Combine vector art and multi-page layout in the same file for brochures, catalogs, or pitch decks.
• Use Mesh Fill, Fountain fills, Pattern fills, and Vector feathering for nuanced shading and textures.
Typography & text handling
• Fit text to paths, use OpenType features (ligatures, small caps), and variable fonts to responsively adjust weight/width without swapping font files.
• Access over a thousand fonts plus integrated access to Google Fonts in modern releases.
Bitmap-to-vector conversion (PowerTRACE)
• Convert low-resolution logos or scans into clean, scalable vectors, with AI assistance for better edges and fewer cleanup steps.
Integrated photo editing (PHOTO-PAINT)
• Apply non-destructive effects, corrections, masks, and painterly brushwork directly on images used in your designs—without leaving the suite.
Color management & Pantone® access
• Use CMYK-aware tools and Pantone palettes for brand-accurate print color; the 2025 learning resources highlight Pantone Dualities palettes available in CorelDRAW and PHOTO-PAINT.
Export & prepress
• Advanced Print to PDF helps you generate predictable, printer-friendly PDFs with better control over compression, color, and standards.
New for 2025 (highlights)
• CorelDRAW Web (create anywhere, with non-destructive effects and template support).
• Enhanced Painterly Brush for natural-media strokes.
• Performance and stability updates (v26.1 in June 2025).
Step-by-step: A practical CorelDRAW workflow you can reuse
1) Start with a vector foundation
• Create a new document and set your primary color mode (RGB for digital, CMYK for print).
• Sketch with Freehand/Bezier; convert to precise geometry by editing nodes and control handles.
• Use Perspective Drawing and vanishing points to place objects in believable depth.
2) Build form and depth with fills and shadows
• Add Fountain or Mesh fills to sculpt light and shade.
• Apply Inner or Block Shadows sparingly to avoid muddy contrast.
• Use Vector feathering to soften edges without rasterizing.
3) Define your color system early
• Choose Pantone® spot colors for brand consistency, then derive CMYK or RGB variants for print and web.
• Keep a small primary palette plus accents; store swatches for reuse.
4) Add and finesse typography
• Set paragraph and headline styles; leverage variable fonts for responsive tweaks (weight/width) in one file.
• Use Fit Text to Path for badges or seals and test legibility at final size.
5) Bring in photos (non-destructively)
• Send images to PHOTO-PAINT for retouching: exposure, noise, or texture work.
• Return to CorelDRAW; apply effects lenses on a separate, non-destructive layer when possible.
6) Convert problem bitmaps to vectors (when needed)
• Use PowerTRACE on low-res logos or artwork to make them scalable; reduce node count for cleaner curves.
• Replace jaggy bitmaps on packaging, apparel, or signage with the traced vector.
7) Preflight and export
• For print, use Advanced Print to PDF; confirm bleed, crop marks, color profile, and overprint preview.
• For digital, export optimized SVG/PNG/PDF with proper pixel dimensions and accessibility metadata.
P.S. If you want a guided start, grab the trial here: Try CorelDRAW now.
Pros, cons, and risk management
Pros
• End-to-end workflow: draw vectors, edit images, manage color, and export robust PDFs without jumping between vendors.
• PowerTRACE accelerates cleanup of legacy logos and scans, especially in print shops and branding work.
• Practical print features (Pantone, CMYK, PDF controls) support reliable handoff to manufacturers and printers.
• 2025 enhancements (Web app, brush improvements, updates) make it easier to create anywhere and keep performance solid.
Cons (to plan for)
• Learning curve: advanced fills, node editing, and prepress settings take practice—use the built-in tutorials liberally.
• File exchange: while CorelDRAW opens/saves many formats (AI, SVG, PDF), check compatibility specifics for complex Illustrator effects. (Vendor docs note broad format support; still test your pipeline.)
• Suite variations: subscription vs one-time purchase can differ in features/updates; review the official comparison before buying.
Risk management tips
• Lock color early with Pantone or standardized CMYK.
• Keep vectors lean: reduce node count to avoid ripple artifacts on CNC/laser cutters.
• Preflight every print PDF; verify bleeds and overprint to prevent surprises.
Practical examples (with a mini case study)
Logo and brand kit
• Sketch vector marks, refine with node tools, and test scale from 16 px up to signage.
• Build a palette using Pantone for print and RGB/HEX for web; store brand assets in templates.
Packaging or label
• Combine vector art with textures; place type on curved paths; export PDF/X with bleeds and dielines.
Apparel graphics
• Convert hand-drawn art into vectors; ensure spot colors; deliver print-ready files to screen printers using PowerTRACE.
Large-format signage
• Use perspective grids to mock installation views; test readability at distance; export scaled PDFs/SVGs.
Mini case study: Reviving a legacy logo
You receive a 256×256 JPEG logo. In CorelDRAW, you:
• Run PowerTRACE to convert it to vector.
• Simplify nodes and rebuild curves for symmetry.
• Apply a Mesh Fill for subtle shading and export a Pantone-accurate PDF for packaging. Result: a scalable, print-perfect mark done in under an hour, with consistent color across print runs.
Common mistakes (and expert tips)
Mistake: Designing in RGB for print until the very end.
Fix: Start documents in CMYK (or map Pantone to CMYK) so proofs match production.
Mistake: Over-traced vectors with thousands of nodes.
Fix: Use PowerTRACE’s settings to limit nodes; simplify paths for cleaner cuts and smoother curves.
Mistake: Flattening text too early.
Fix: Keep live text until final sign-off; then convert to curves only for final print-shop delivery.
Mistake: Exporting PDFs without bleeds or correct standards.
Fix: Use the Advanced Print to PDF workflow and verify bleed/crops/overprint before sending.
Tip from the video: Don’t forget artistic touches—brushstrokes, silhouettes, textures—to add character after you lock composition and color. This aligns with the suite’s Painterly brushes and non-destructive effects.
One look: where CorelDRAW shines
| Job type | Why CorelDRAW is a strong fit | Key tools you’ll likely use |
|---|---|---|
| Logos & brand assets | Precision vectors + dependable color for print/Web | Node editing, variable fonts, Pantone, PowerTRACE |
| Packaging & labels | Multi-page layout + prepress control | Styles, paragraph text, Advanced Print to PDF |
| Signage & vehicle wraps | Scale-safe vectors and perspective planning | Perspective Drawing, Mesh/Fountain fills |
| Apparel graphics | Clean spot-color vectors from sketches | PowerTRACE, vector pattern fills |
| Marketing collateral & social | Templates, typographic control, quick exports | Text tool, styles, export presets |
| Mixed photo/vector posters | Integrated retouching + effects | PHOTO-PAINT, non-destructive effects lenses |
FAQ: People Also Ask (quick answers)
The bottom line: what you can do with CorelDRAW
You can design virtually any 2D creative or production asset in CorelDRAW—from crisp logos and brand kits to packaging, signage, apparel, and marketing collateral—then output with confidence for print or digital. The video’s emphasis on curves, shadows, perspective, nodes, and textures matches what you’ll actually use daily, and the 2025 updates streamline creation and prepress even more. If you’re ready to try it on your next project, download the suite here: Get CorelDRAW Graphics Suite.
