


Affiliate disclosure: This article contains affiliate links. If you click and purchase, we may earn a commission at no extra cost to you.
Table of Contents
◉ Introduction ◉ What is CorelDRAW in 2025—and why should you care? ◉ The 20 CorelDRAW tricks (from the video) you’ll actually use ◉ Quick-reference cheat sheet (print this) ◉ Step-by-step: From “nice idea” to “print-ready” using these tricks ◉ Pros, cons, and risk management ◉ A mini case study: a badge-style promo in 10 minutes ◉ Common mistakes and expert tips (credit to the video where relevant) ◉ FAQ (People Also Ask) ◉ Bottom line
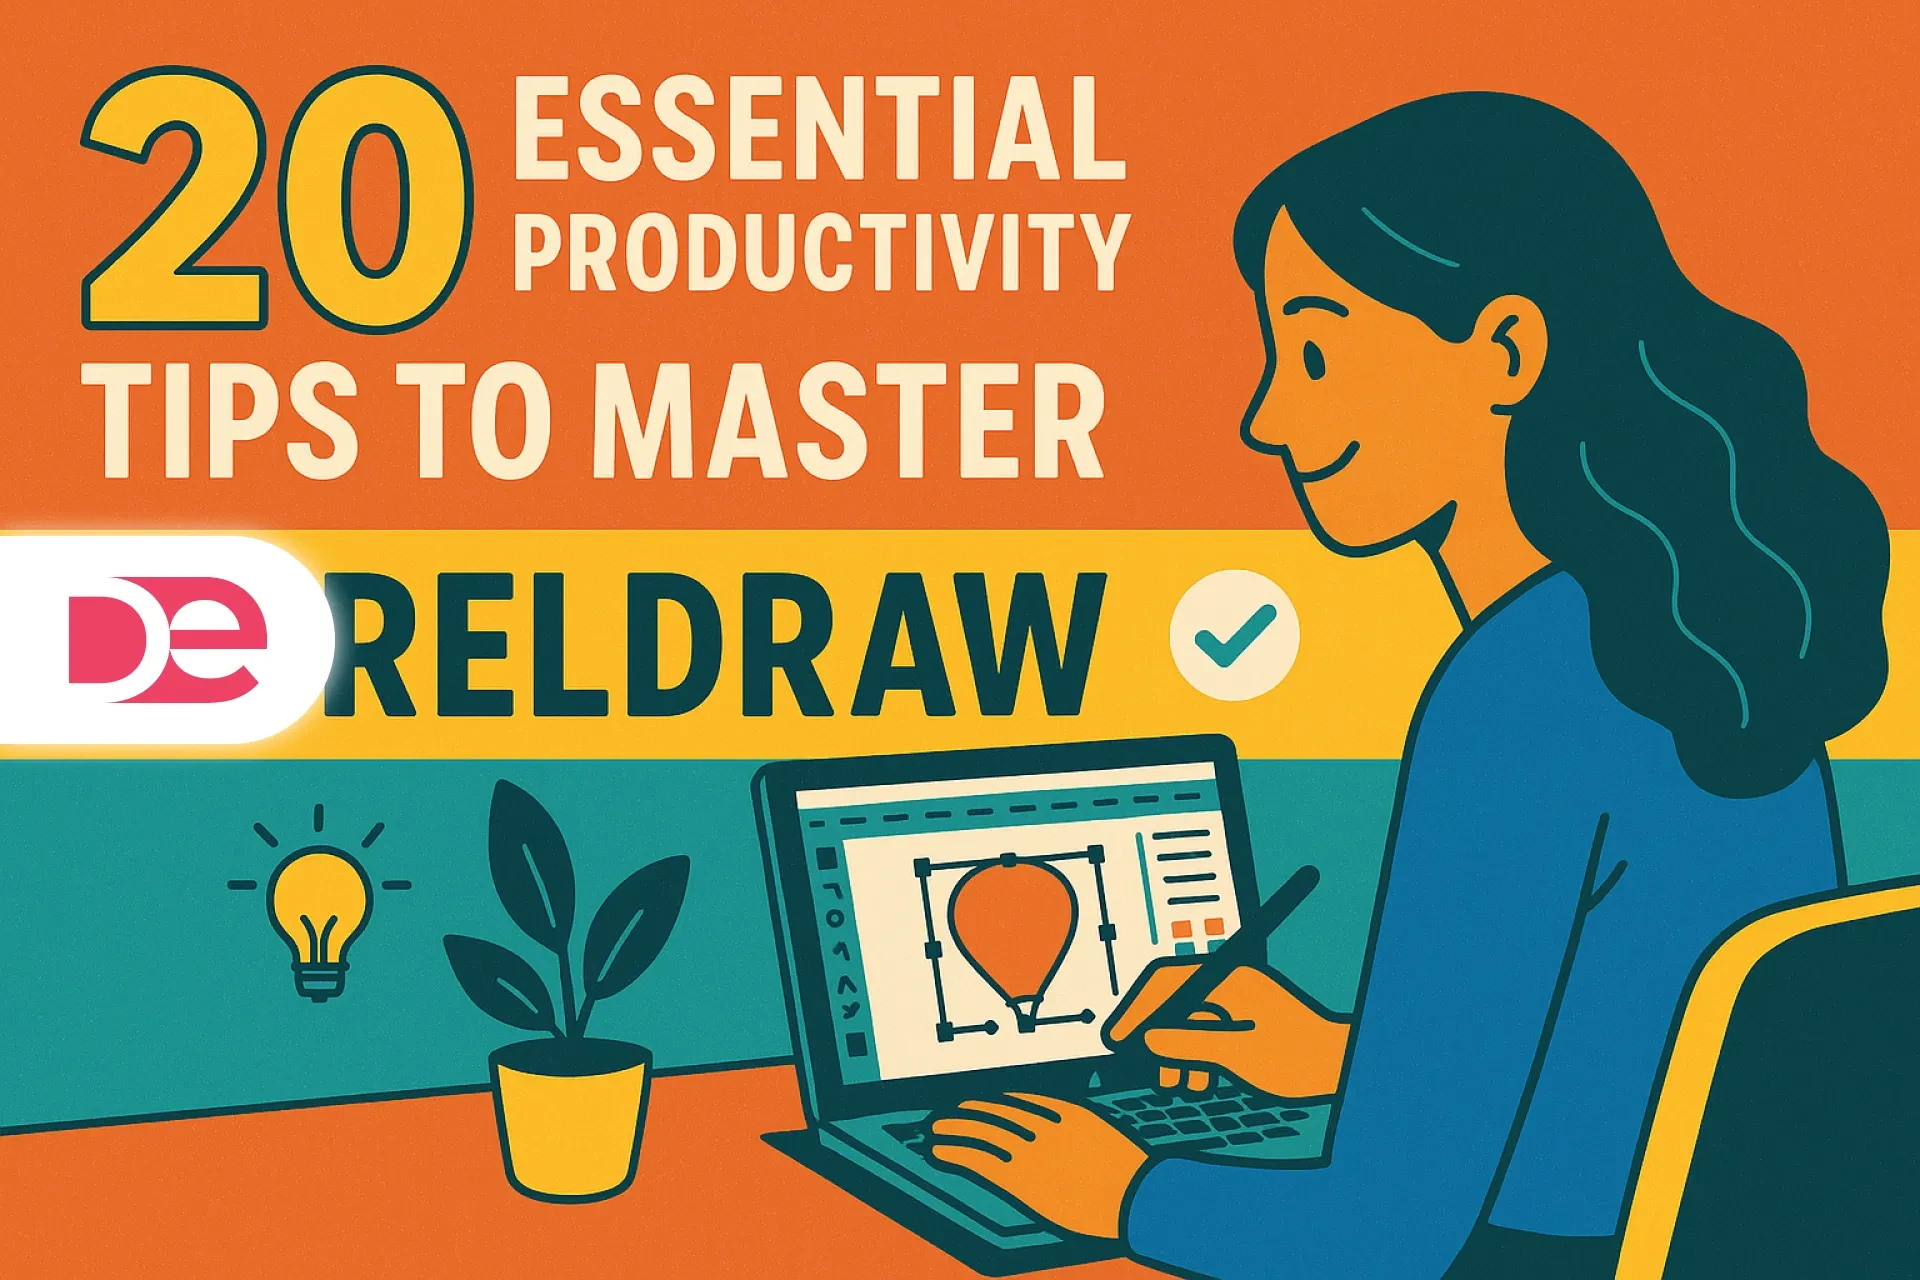
Whether you’re designing a logo, laying out merchandising, or prepping artwork for print, the fastest path from idea to delivery is knowing CorelDRAW’s “power moves.” In a recent Spanish-language tutorial, Javier (the presenter) demonstrates 20 practical tricks—covering containers, alignment, vectorization, barcodes, color workflows, and more—that dramatically speed up real-world work. I’ve distilled those ideas into clear steps, added pro context, and updated everything with 2024–2025 capabilities such as Painterly Brushes, Remote Fonts, and improved PDF output. If you’re just getting started (or coming back) and you want a modern, professional-grade toolchain, CorelDRAW is a strong pick for vector design, layout, and production. You can try or buy it here: CorelDRAW Graphics Suite.
What is CorelDRAW in 2025—and why should you care?
CorelDRAW is a vector graphics and page layout suite used in branding, signage, apparel, packaging, and marketing collateral. The 2025 release focuses on production-friendly improvements (like advanced PDF output) and usability, while retaining the tools pros depend on: precise node editing, PowerTRACE for bitmap-to-vector conversion, multipage workflows, and collaboration. TechRadar’s 2025 review calls it “an excellent and decently priced bundle” for Mac and PC, and highlights extensive tutorial support—useful if you’re onboarding teammates.
Beyond the desktop, CorelDRAW now spans web editing with CorelDRAW Go—handy for quick revisions away from your main machine.
Two especially relevant 2024–2025 additions:
• Painterly Brushes combine the expressiveness of pixel brushes with vector precision (editable after the fact).
• Remote Fonts (including Google Fonts) can be enabled from the font list so missing fonts resolve automatically on open—huge for agencies and teams.
If you need a trusted, production-grade stack today, start here: CorelDRAW Graphics Suite.
The 20 CorelDRAW tricks (from the video) you’ll actually use
In the video, Javier walks through 20 hands-on tricks. Below I translate them into step-by-step guidance, add pro tips, and link to official docs where useful.
1) Put an object inside another with PowerClip

• Select the artwork you want to contain • Right-click • PowerClip Inside • Click the container shape.
Pro tip: Double-click the container to edit contents; use the Properties bar to center content inside.)
2) Center to page instantly

• Select object(s) • Press P to center horizontally and vertically on the page.
3) Align & distribute like a pro

• Select objects • Object → Align and distribute to align by edges or centers and to distribute spacing evenly.
4) Put text on a curve

• Type your text • Select Text → Fit Text to Path • Click the curve. Adjust offset and alignment in the Property bar.
5) Duplicate patterns (linear or radial)

• Select an object • Press Ctrl+D to duplicate; move/rotate the duplicate; press Ctrl+D repeatedly to repeat the last transform—great for spirals, sunbursts, or circular badges. For precision, use the Transformations docker.
6) Snap things exactly where they belong

• Use View → Snap To → Objects/Guidelines/Page to snap edges, nodes, and centers accurately—ideal for assembling complex layouts.
7) Generate barcodes inside your file

• Object → Insert → Barcode • Choose symbology, enter data, set size/resolution, and insert—perfect for packaging proofs.
8) Smart Fill intersecting shapes

• Pick Smart Fill • Choose fill and outline options • Click inside enclosed regions formed by overlapping shapes. It creates new, clean vector objects.
9) Slice objects with the Knife

• Select an object • Activate Knife • Drag across to split the object into editable parts.
10) Crop bitmaps with a vector shape (two ways)

• Fast & non-destructive: Use PowerClip to place the bitmap “inside” a shape.
• Destructive crop: Use the Crop tool on the bitmap.
11) Navigate huge pages with the Navigator (N)

• Press N to open the Navigator and jump around complex drawings quickly.
12) Select everything fast

• Ctrl+A selects all objects on the current page—handy for global styling or quick grouping.
13) Vectorize bitmaps with PowerTRACE

• Select a bitmap • Bitmap → Outline Trace (or Quick Trace) • Tune settings for colors/smoothing. Corel’s AI-assisted PowerTRACE continues to improve.
14) Separate (break apart) a drop shadow

• Select a Drop Shadow object • Object → Break Drop Shadow Group Apart to move/edit the shadow independently.
15) Convert polygon ↔ star

• With a polygon selected, use the Shape tool (F10) to drag inward and form a star; drag out to revert—super quick for badges and seals. (General feature behavior; see polygon/star tools)
16) Jump back to the previous tool with Spacebar

• While editing (e.g., Drop Shadow), tap Spacebar to toggle back to the Pick tool and continue—great for fluid adjustments.
17) Switch UI themes (dark/light)
• Tools → Options (Ctrl+J) → Workspace → Appearance • Choose Light/Medium/Dark/Black to match your environment.
18) Clone or duplicate a page
• Right-click a page tab • Duplicate Page • Enable Copy layers and their contents to mirror an entire layout—perfect for multi-variant comps.
19) Mix colors with Ctrl-click

• Select an object • Ctrl+Left-click a palette swatch to add ~10% of that color to the fill—useful for incremental blends and harmonies.
20) Set your default design conditions (once)
• Window → Dockers → Object Styles → Default Object Properties • Define default outline width, fill, and text font so every new object starts “correct.”
Quick-reference cheat sheet (print this)
| Trick | Shortcut/Path | Why it matters |
|---|---|---|
| Center to page | P | Instantly centers selected elements to the page for precise layouts. |
| Align & distribute | Object → Align and Distribute | Consistent spacing and alignment across complex assemblies. |
| Duplicate & repeat | Ctrl+D (then repeat) | Builds linear/radial patterns by repeating the last transform. |
| Fit text to path | Text → Fit Text to Path | Curved typography for badges, seals, and packaging arches. |
| PowerClip inside | Right-click → PowerClip Inside | Non-destructive mask for images/artwork inside shapes. |
| Smart Fill | Tools → Smart Fill | Quickly creates new shapes from intersections—no manual tracing. |
| Knife | Knife tool | Split shapes cleanly to create cut effects or alternate fills. |
| Insert barcode | Object → Insert → Barcode | Generates production-ready barcodes within your layout. |
Step-by-step: From “nice idea” to “print-ready” using these tricks
Below is a practical flow that merges the video’s methods with current best practices.
Step 1: Start with the right defaults
• Set your default outline weight (e.g., 0.5 pt) and fill, plus your default text font. Your new shapes and text will be consistent out of the gate.
Step 2: Block in your layout
• Rough out shapes for logo, headline, and product image.
• Use P to center hero elements to the page, then Align & Distribute to organize supporting elements.
Step 3: Curved headlines & badges
• Draw a circle/curve, type headline, then Fit Text to Path; tweak baseline offset for pleasing spacing.
Step 4: Decorative patterns (no plugins)
• Create a petal/segment • Ctrl+D • Rotate by a fixed angle in Transformations • Press Ctrl+D repeatedly to build the shape.
Step 5: Place the product shot inside a shape
• Right-click the bitmap • PowerClip Inside a rounded rectangle for clean masking.
Step 6: Add real-world elements (barcodes)
• Object → Insert → Barcode • Choose EAN/UPC/etc. • Size it per vendor spec.
Step 7: Fast color tuning
• Nudge a fill warmer/cooler by Ctrl-clicking palette swatches in 10% steps.
Step 8: Trace a sketch or old logo
• Import bitmap • PowerTRACE • Choose colors/smoothing • Clean nodes as needed.
Step 9: Final checks at scale
• Use Navigator (N) to jump around and check edges, bleeds, and small text on multi-page documents.
Step 10: Output
• Export PDF/X using current presets; the 2025 suite emphasizes improved Print-to-PDF for reliable output.
If you want the same toolkit I’m using here, grab CorelDRAW via this link: CorelDRAW Graphics Suite.
Pros, cons, and risk management
Pros
• All-in-one: Vector illustration + page layout + barcode generation without leaving the suite.
• Fast production features: PowerTRACE, Align/Distribute, PowerClip, and barcodes are practical time-savers for packaging and signage.
• Modern updates: Painterly Brushes and Remote Fonts streamline creativity and collaboration.
Cons & trade-offs
• Learning curve: The interface offers many docks and panels; invest time in the Align/Distribute and Transformations docks.
• Cross-app nuance: If you collaborate with Adobe-native shops, test PDF export settings early.
Risk management
• Fonts: Enable Remote Fonts and set substitution rules to avoid last-minute font surprises.
• Barcodes: Verify symbology and print size against retailer specs; test with a scanner.
A mini case study: a badge-style promo in 10 minutes
Goal: a round promo sticker reading “Weekend Sale,” with a product image and a scannable barcode.
• Draw a circle, add “WEEKEND SALE,” and Fit Text to Path; adjust spacing.
• Build a sunburst by drawing one ray, Ctrl+D, rotate 12°, and repeat with Ctrl+D.
• PowerClip the product photo into a circle for a clean mask.
• Insert a Barcode for shelf scanning and position it along the bottom.
• Use Ctrl-click color nudges to harmonize the palette.
Result: a production-ready, fully vector badge you can send to print or export for web.
Common mistakes and expert tips (credit to the video where relevant)
• Forgetting to set defaults: Define default outline, fill, and font at document start so every new object is consistent.
• Manual masking: Don’t hand-draw masks when PowerClip gives a reversible, non-destructive container.
• Messy alignment: Use Align/Distribute instead of eyeballing; press P to center to page.
• Underusing duplication: Combine Ctrl+D with rotation/offsets to build grids, spirals, and radial arrays fast.
• Ignoring Navigator: On dense layouts, hit N to jump quickly and catch mistakes.
• Not testing barcodes: Always validate symbology and size.
FAQ (People Also Ask)
Bottom line
If you adopt even a handful of these 20 tricks—PowerClip for clean masks, Ctrl+D pattern builds, Smart Fill for intersections, and Align/Distribute discipline—you’ll deliver sharper work in less time. The 2024–2025 updates (Painterly Brushes, Remote Fonts, and improved PDF) make CorelDRAW an even stronger all-in-one for creative and production teams. Ready to put these secrets to work? Get started with CorelDRAW here: corel.com/en.