


Table of Contents
◉ Why Lightroom Is a Must for Photographers ◉ Lightroom Basics for Beginners ◉ Intermediate Techniques for Precision Editing ◉ Advanced Workflow: Speed, Style, and Subtlety ◉ Pro-Level Integration: Lightroom + Photoshop ◉ Essential Plugins and Shortcuts ◉ FAQs About Lightroom
Why Lightroom Is a Must for Photographers
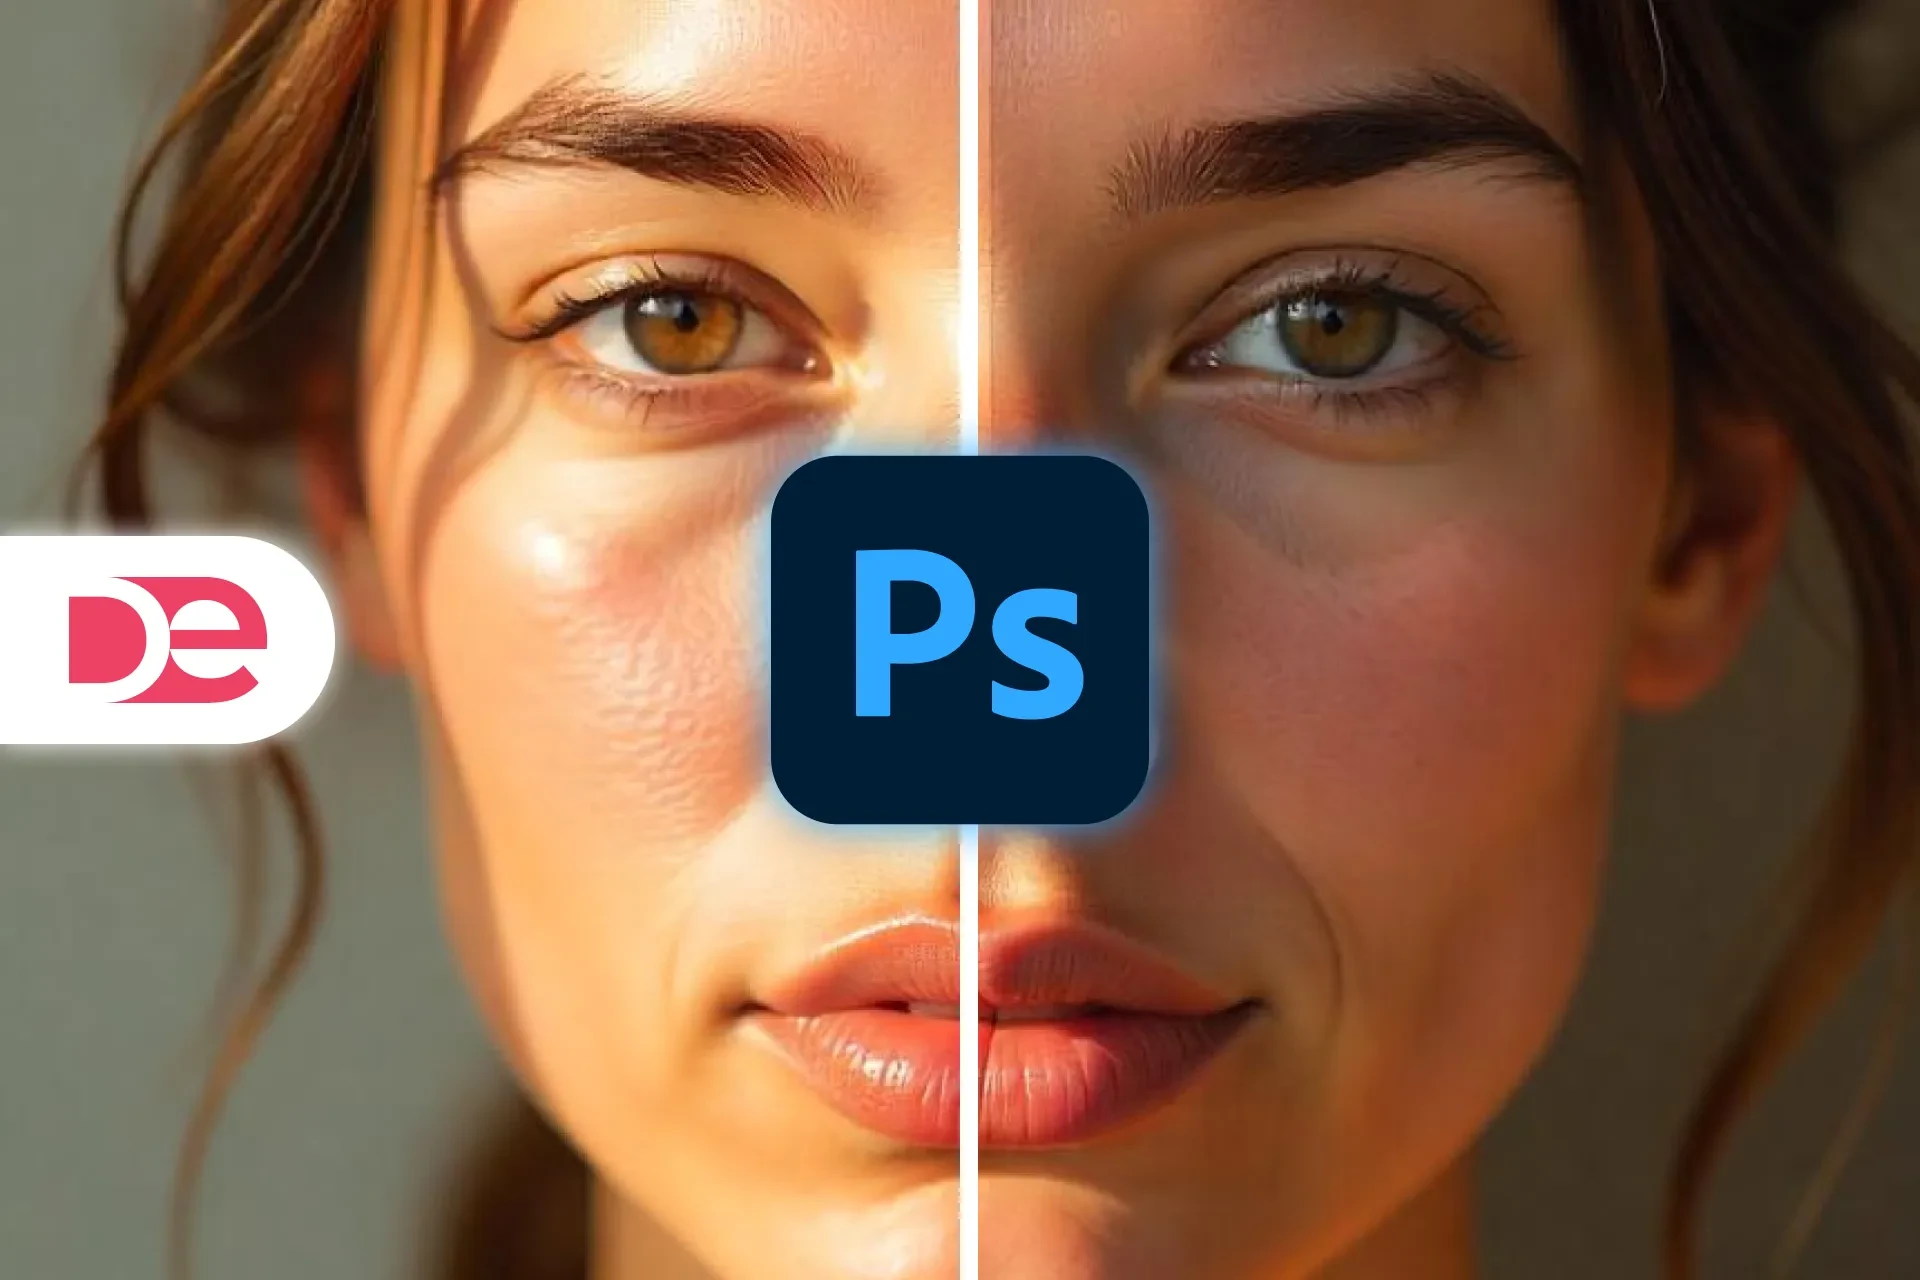
Adobe Lightroom is more than just a photo editor—it’s your digital darkroom with superpowers. While Photoshop is known for pixel-perfect manipulation, Lightroom excels at non-destructive editing, batch processing, and streamlined photo management.
Lightroom lets you:
• Perfect lighting, color, and composition
• Maintain original file integrity
• Edit hundreds of photos with one-click presets
• Export for web, print, or social with optimized settings
Ready to get started? 👉 Try Adobe Lightroom with a 7-day free trial and unlock its full potential.
🏃♂️ Don’t have Lightroom yet?
Get the full version FREE for 7 days and follow this tutorial step-by-step.
Download Free Trial
Get the full version FREE for 7 days and follow this tutorial step-by-step.
Download Free Trial
Lightroom Basics for Beginners
RAW vs. JPEG: Know Your Starting Point
• RAW: Unprocessed, retains full detail—ideal for professional editing.
• JPEG: Compressed and pre-processed—less flexible for adjustments.
Pro Tip: Always shoot in RAW when quality matters.
Key Tools in the Develop Module
• Exposure: Correct dark or bright areas
• White Balance: Remove unwanted color casts
• Crop & Straighten: Clean up compositions using rule of thirds
Example Walkthrough (Visual):

Edit Faster with the New Lightroom
Unlock AI-powered masks, adaptive presets, and seamless cloud sync—on desktop and mobile.
Try Lightroom NowIntermediate Techniques for Precision Editing
Tone Curves: Fine-Tune Light with Control
Visualize light as a curve—adjust shadows, midtones, and highlights for perfect contrast.
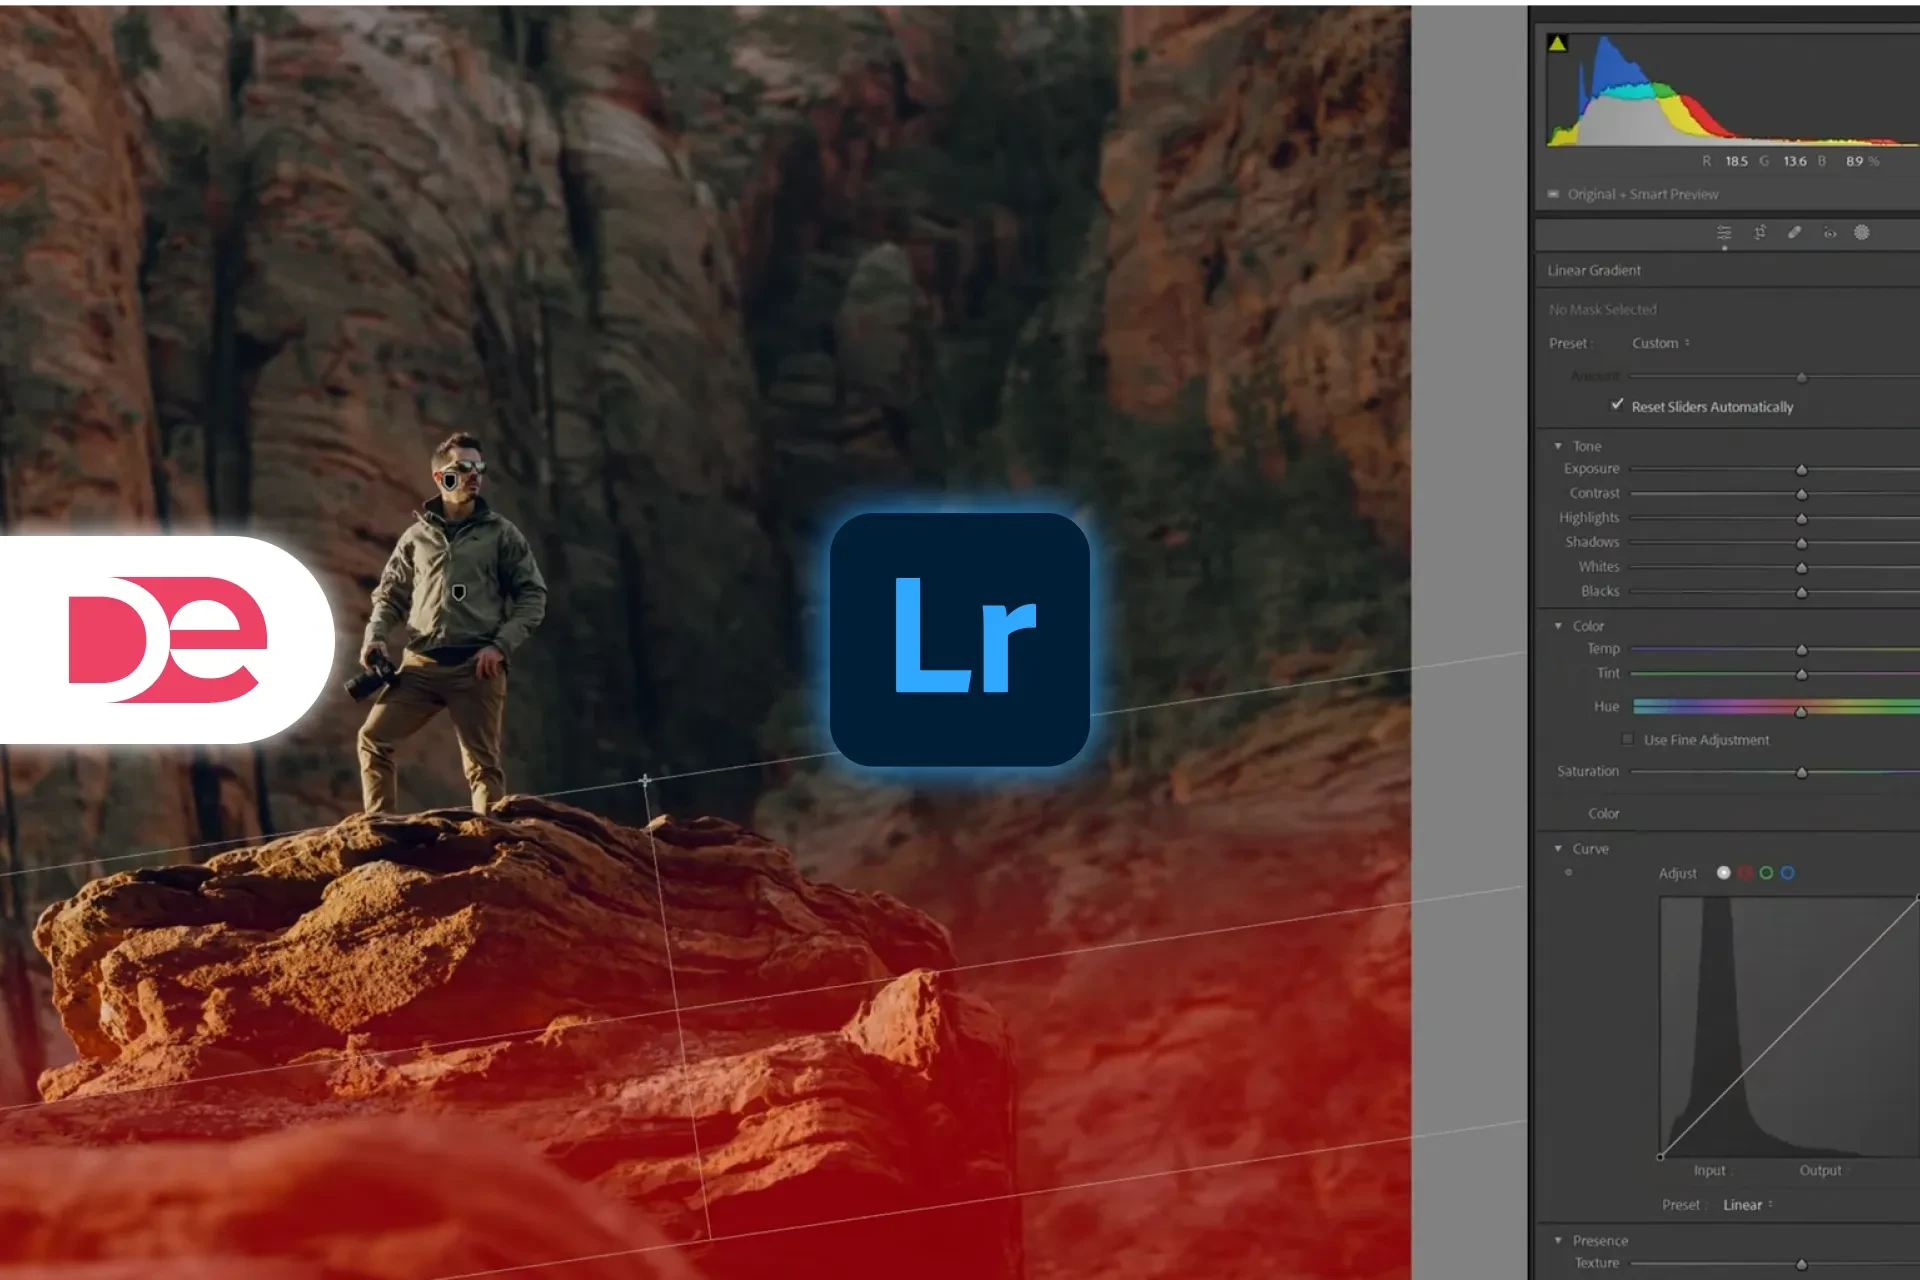
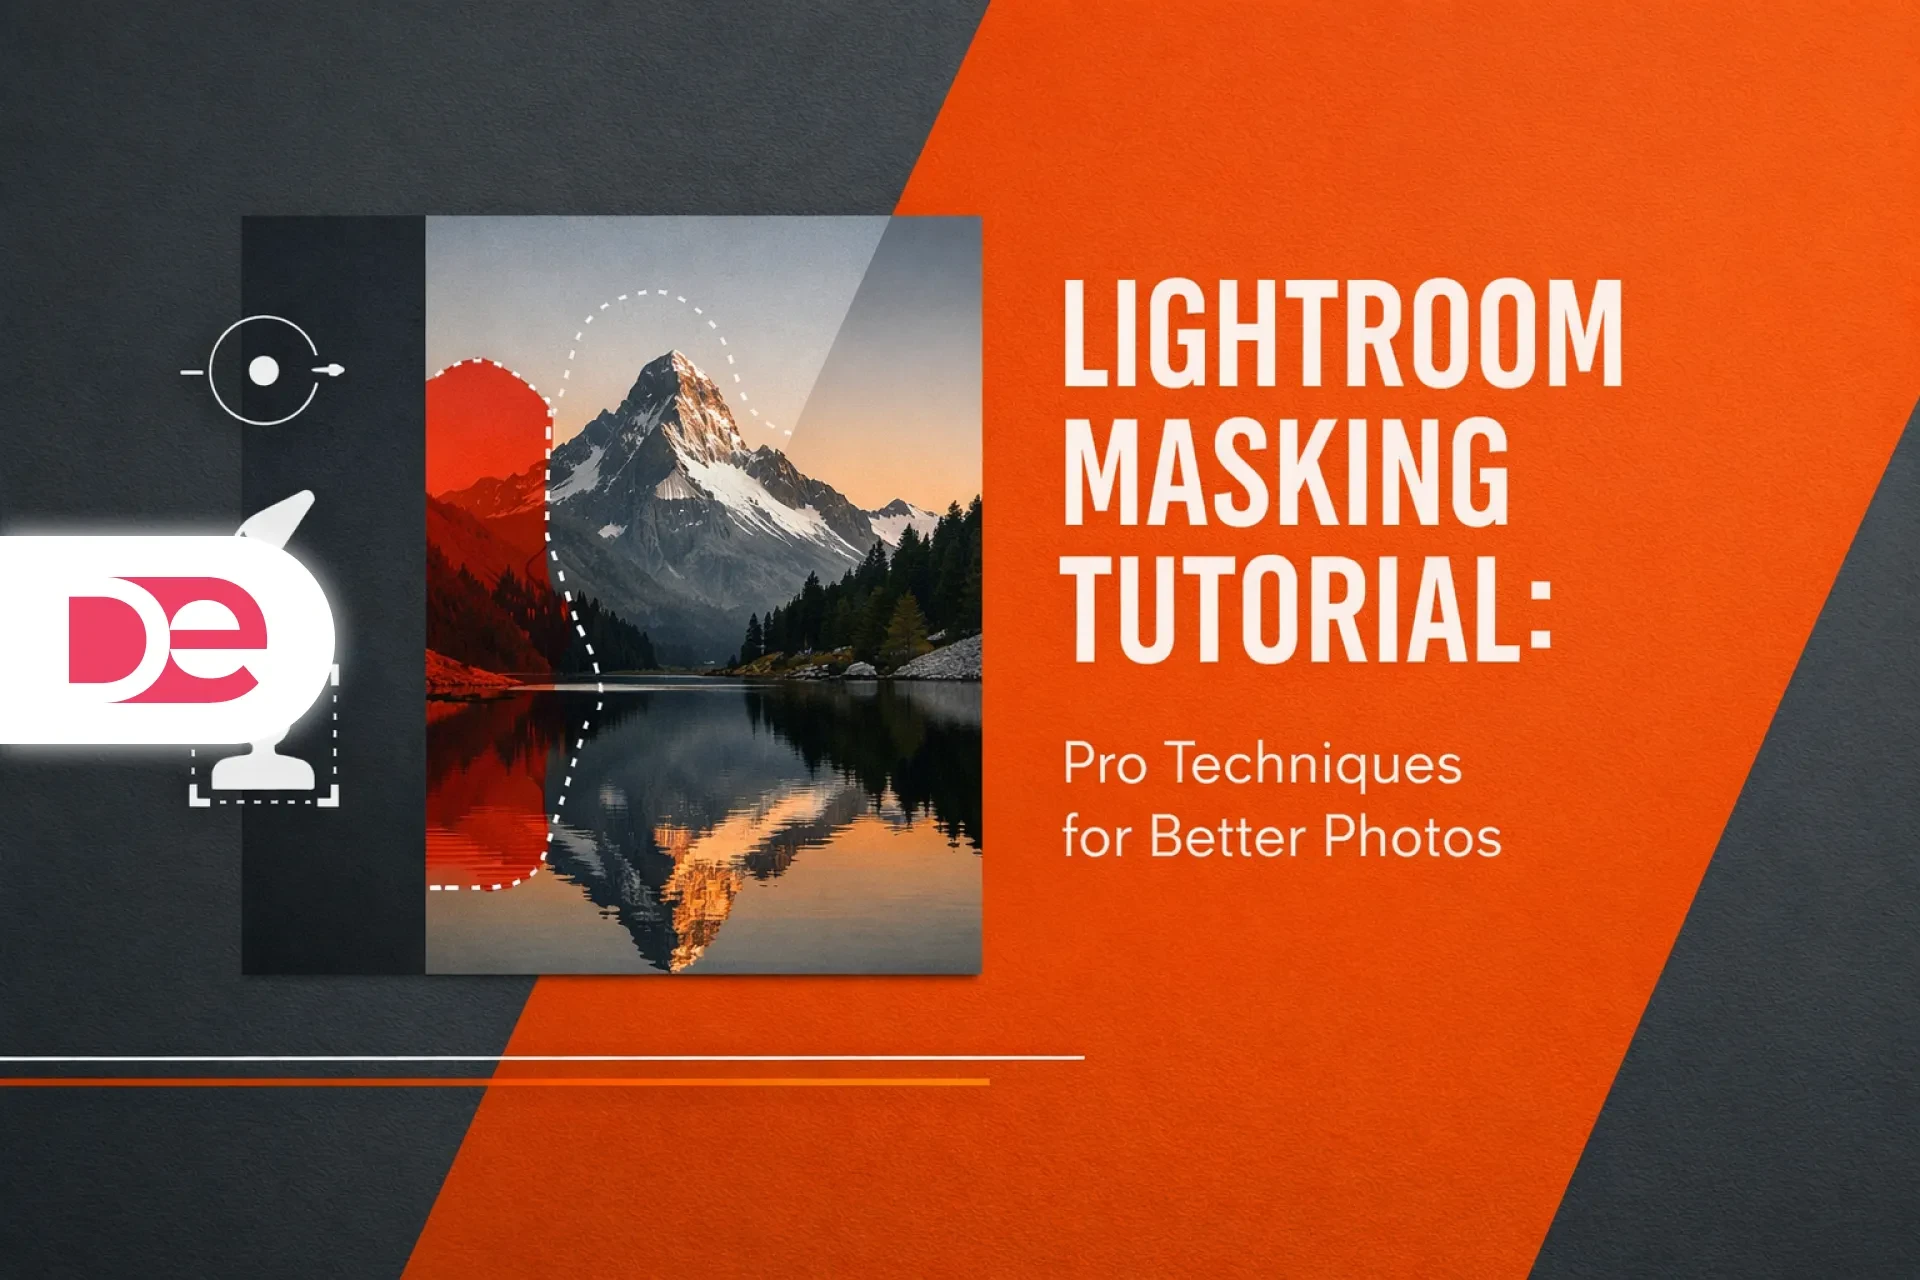
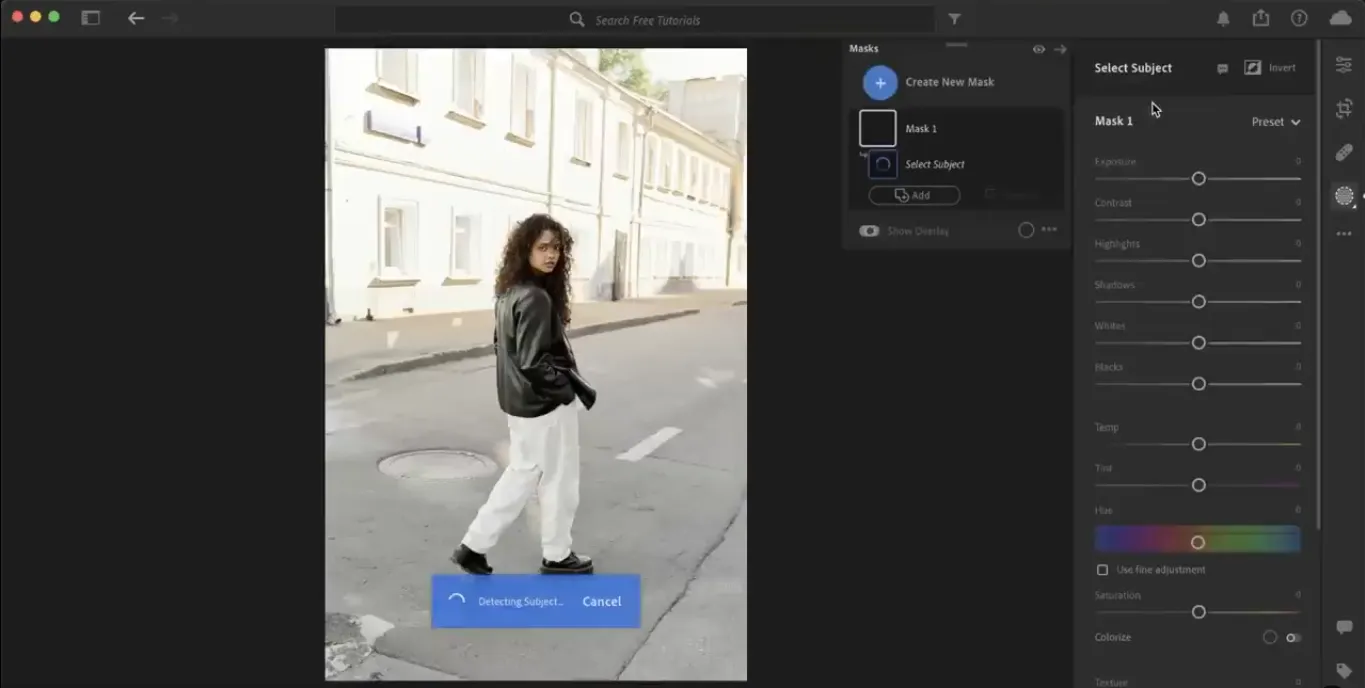
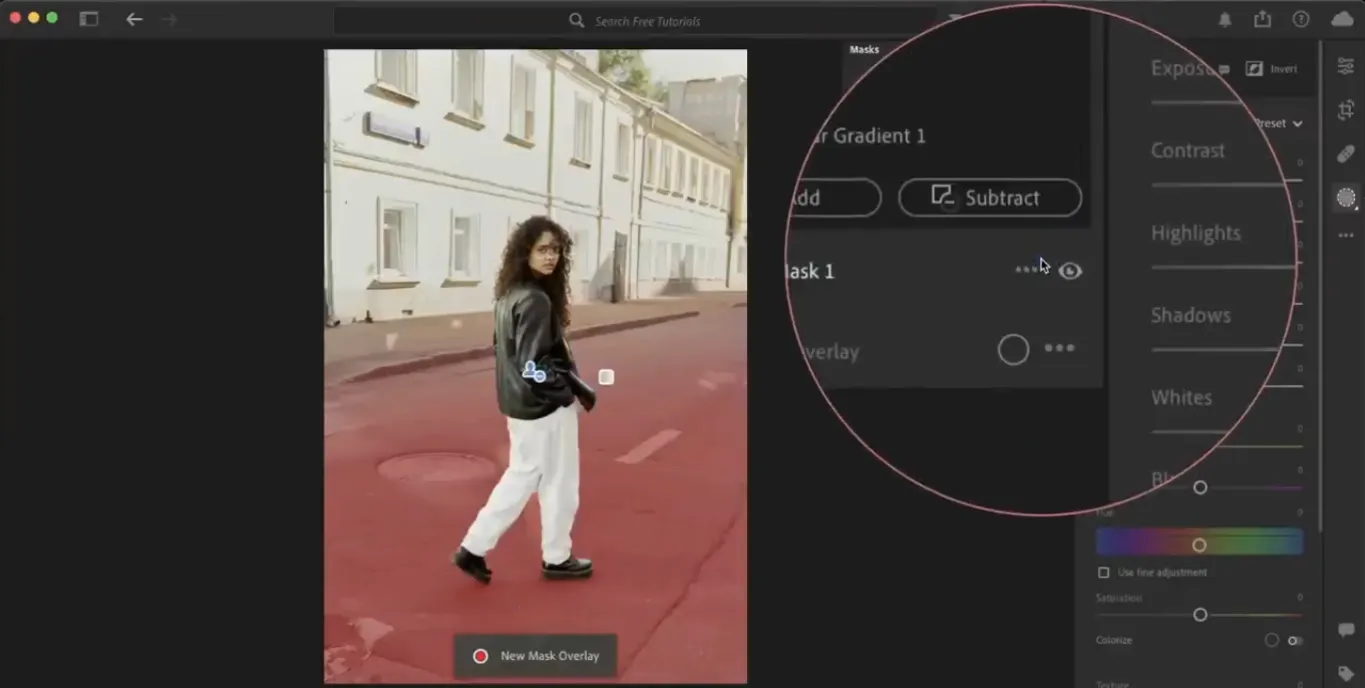
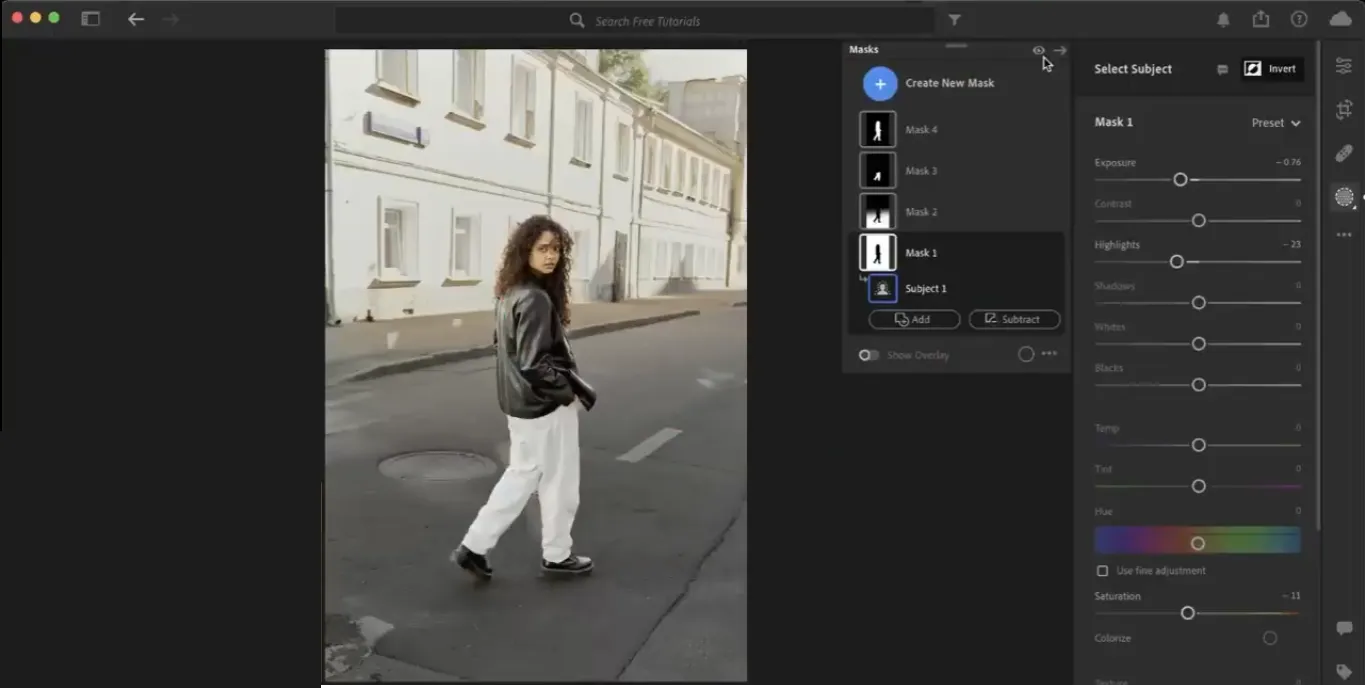
Adjustment Masks: Paint with Light
• Graduated Filter: Enhance skies or brighten landscapes
• Radial Filter: Spotlight a subject without harsh edges
Fix Common Issues Quickly:
• Overexposure: Use Highlights & Dehaze sliders
• Color Casts: Use HSL to target specific tones
• Lens Distortion: Enable Lens Profile Corrections
Quick Trick: Hold Alt/Option while adjusting “Blacks” or “Whites” to see real-time clipping warnings.
Advanced Workflow: Speed, Style, and Subtlety
Custom Presets & Creative Profiles
Build your own editing style:
• “Warm Film Look”
• “Bright Portraits”
• “Dramatic Shadows”
Example Workflow:
1. Apply preset
2. Fine-tune HSL
3. Sync settings across entire gallery
HSL Mastery
• Hue: Shift grass from green to golden
• Saturation: Desaturate loud colors in the background
• Luminance: Brighten skin tones for portraits
Local Retouching (Non-Destructive)
• Dodge & Burn: Shape light in key areas
• Skin Smoothing: Lower Clarity on faces—not the entire image
⚠️ Watch Out: Overuse of the Clarity slider = crunchy, unnatural texture.
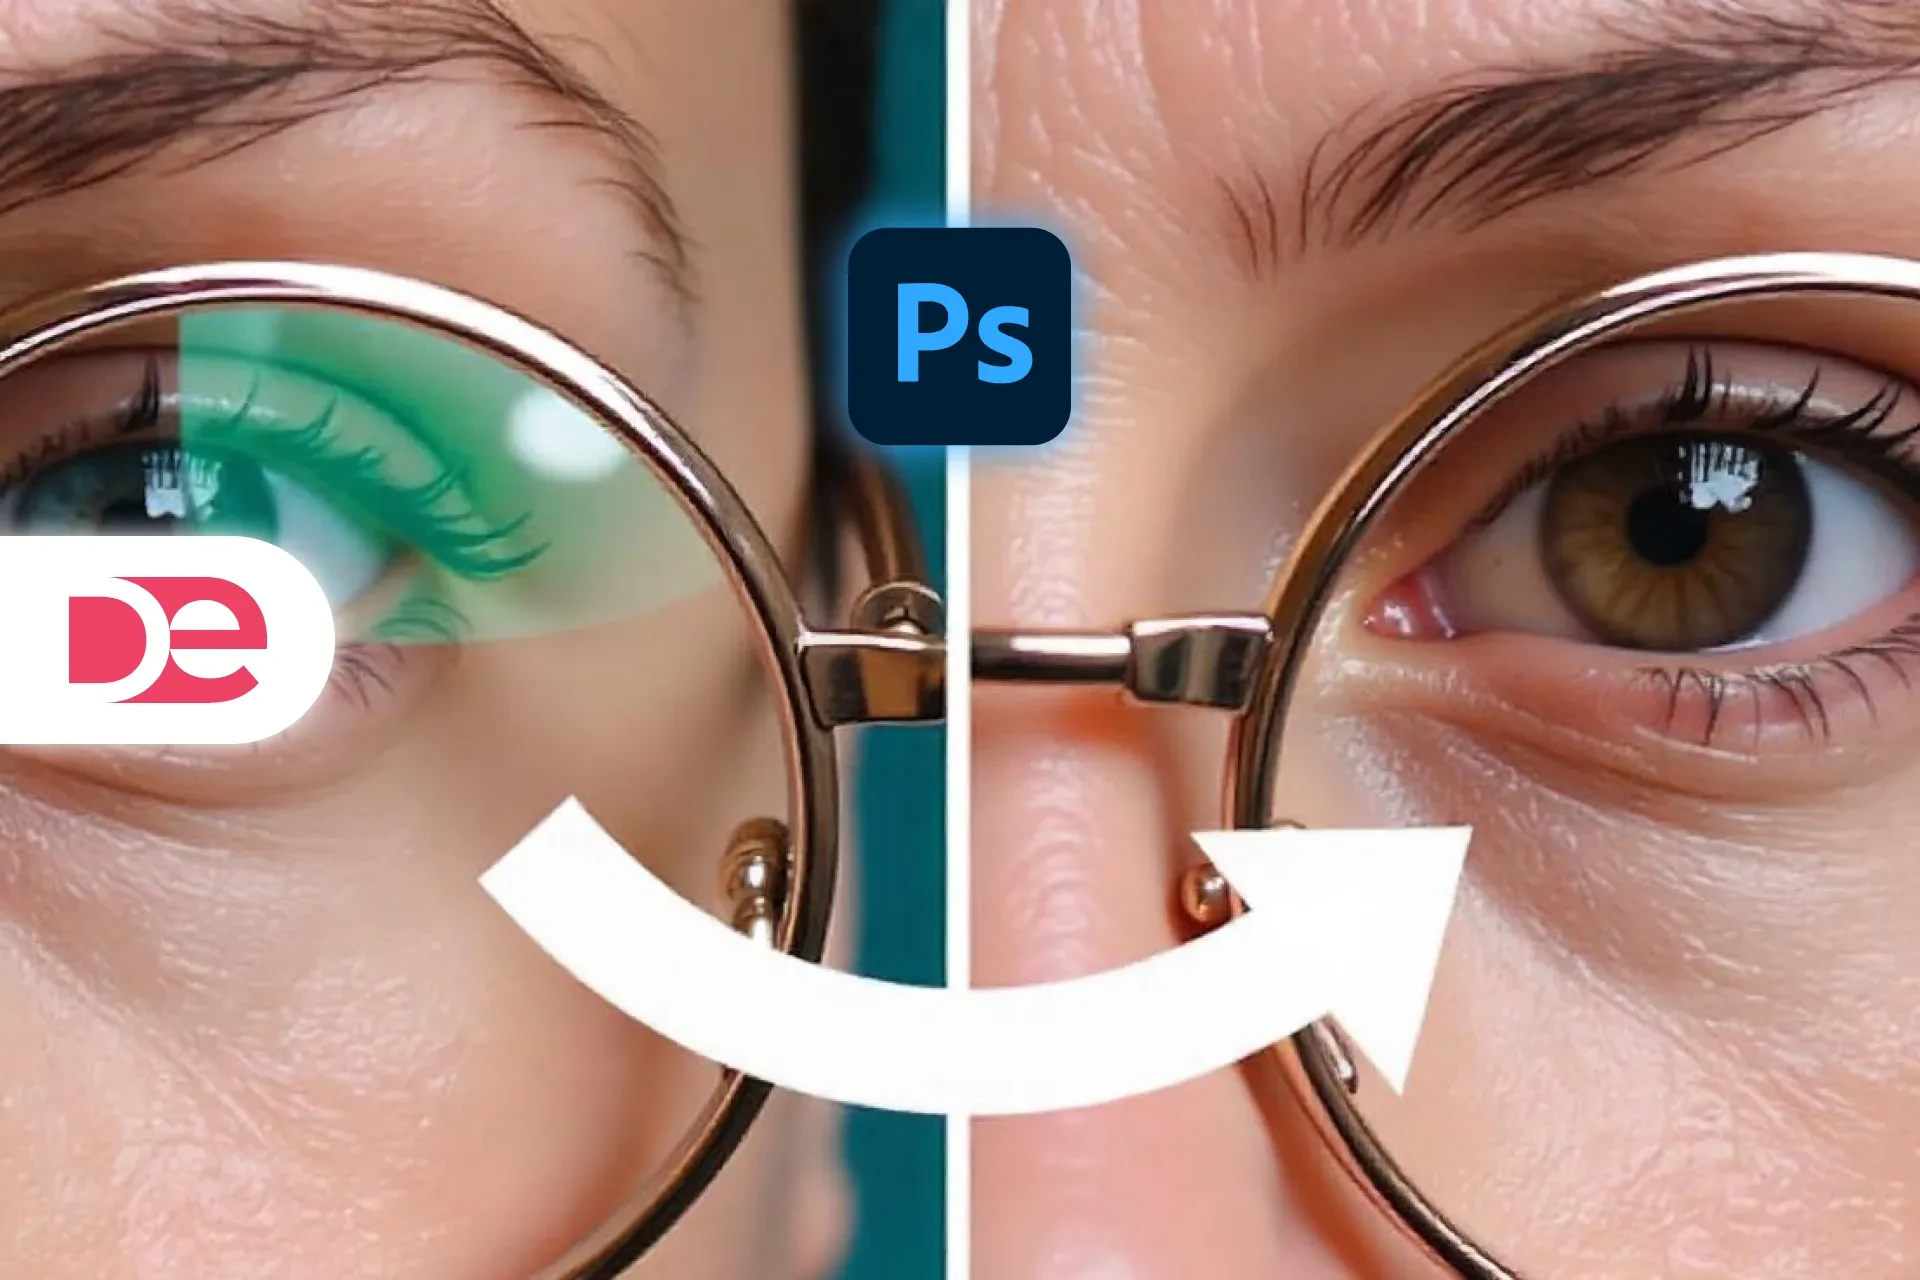
Pro-Level Integration: Lightroom + Photoshop
When to Use Photoshop
• Sky replacements
• Blemish removal
• Detailed retouching
Workflow Example:
1. Edit base in Lightroom
2. Right-click → Edit in Photoshop
3. Save → Syncs back to Lightroom seamlessly
Smart Previews for Travel
Work on lightweight previews offline without sacrificing performance—great for on-the-go editing.
Essential Plugins and Shortcuts
Top Plugins to Supercharge Lightroom
• Nik Collection: Vintage effects, detail enhancement
• Luminar Neo: AI-powered sky replacement and portrait tools
Must-Know Shortcuts
• \: Before/After comparison
• Ctrl/Cmd + Shift + E: Sync settings
• Q: Spot Removal
• K: Adjustment Brush
• D: Switch to Develop Module
FAQs About Lightroom
🎓 Even the best photographers started with a single edit.
🚀 Take the first step today— Download Adobe Lightroom and start your free trial.