


Table of Contents
◉ Introduction ◉ Why Glare on Glasses Happens ◉ Tools You Need in Photoshop ◉ Preparation Before Editing ◉ Step-by-Step Instructions ◉ Duplicate the Layer ◉ Spot Healing Brush Tool ◉ Clone Stamp Tool ◉ Reconstruct the Eyes ◉ Content-Aware Fill and Final Touches ◉ Advanced Editing Tips ◉ Common Mistakes to Avoid ◉ FAQs ◉ Conclusion
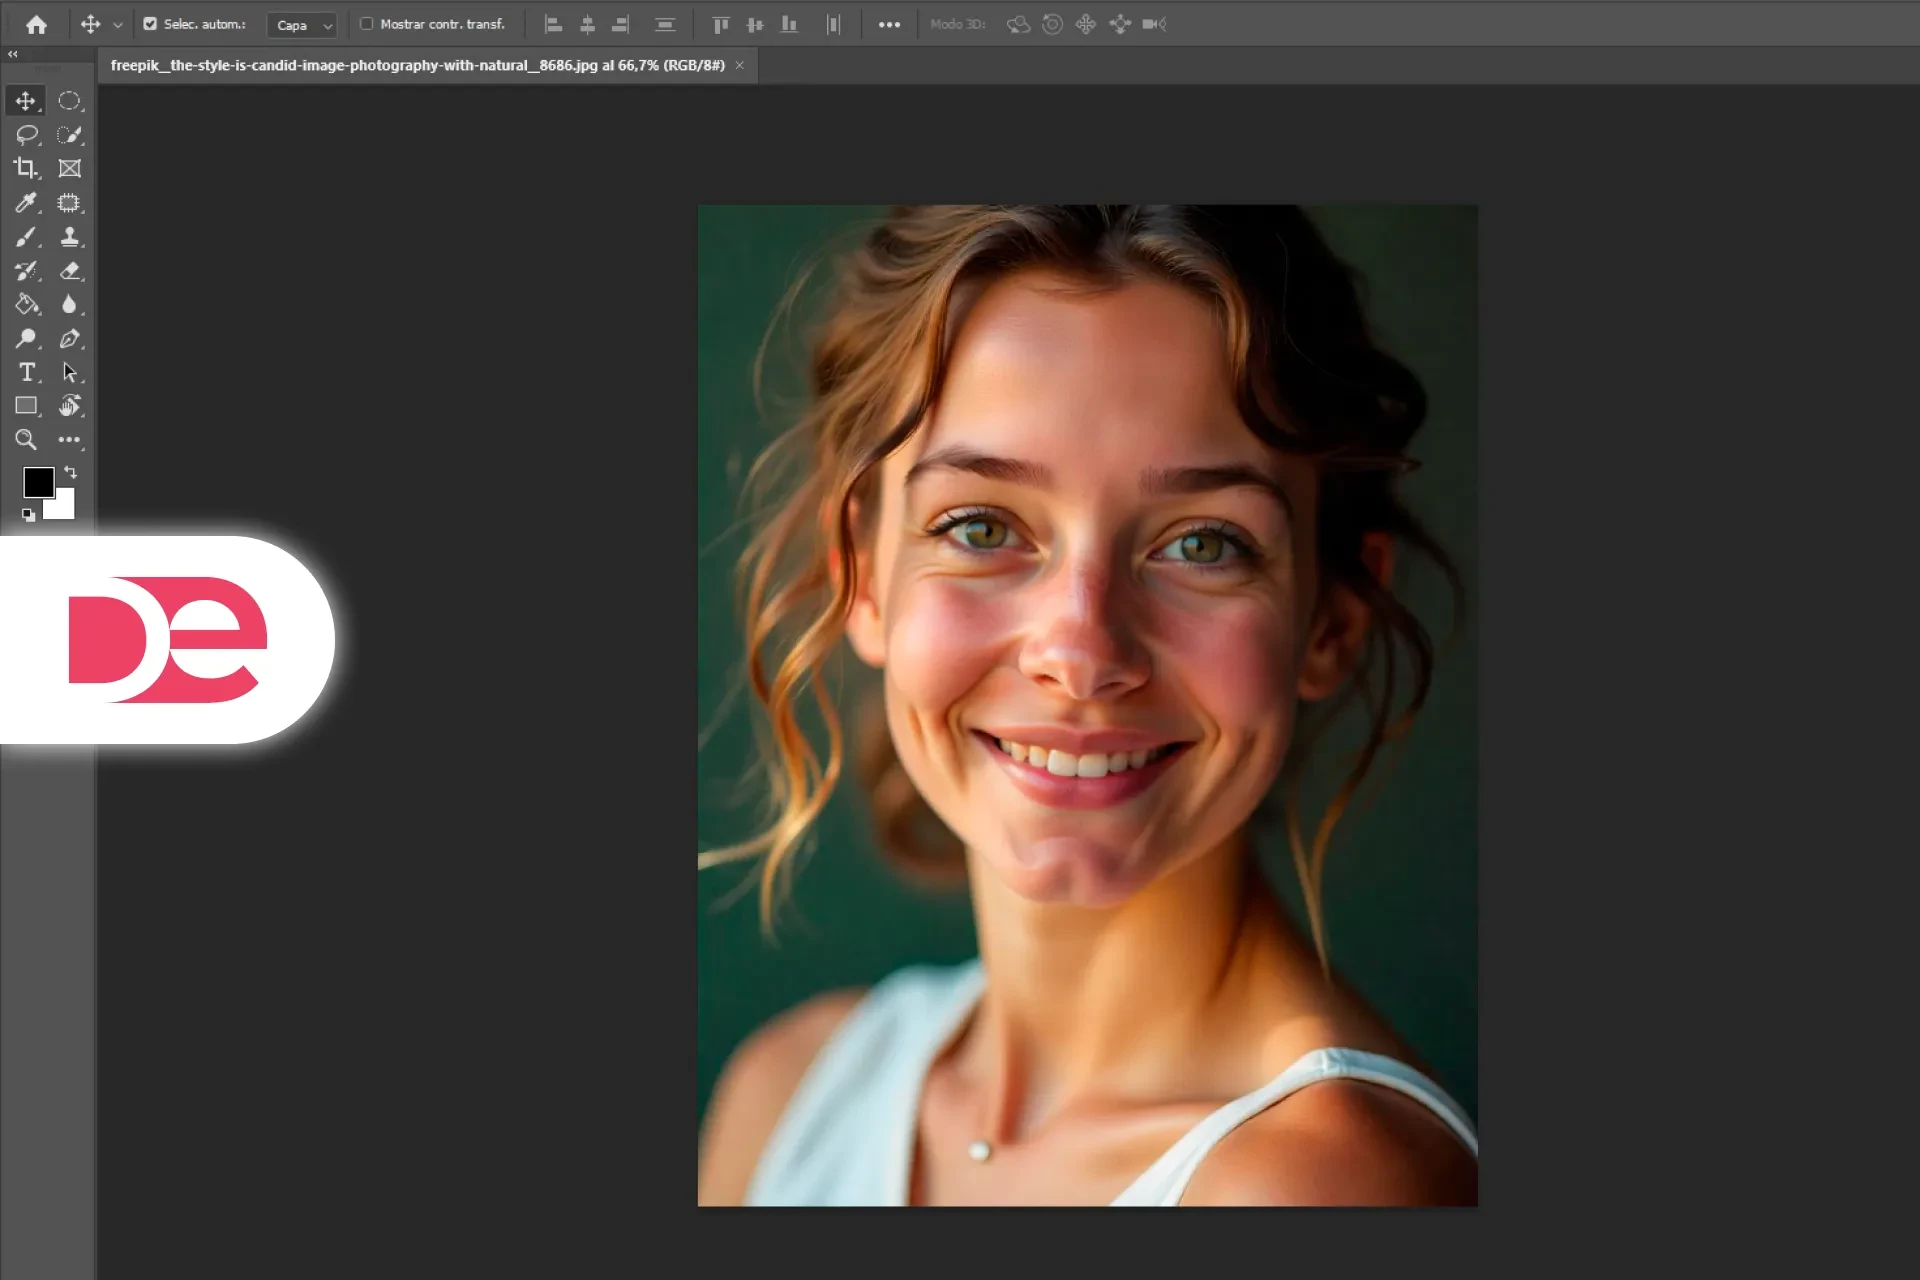
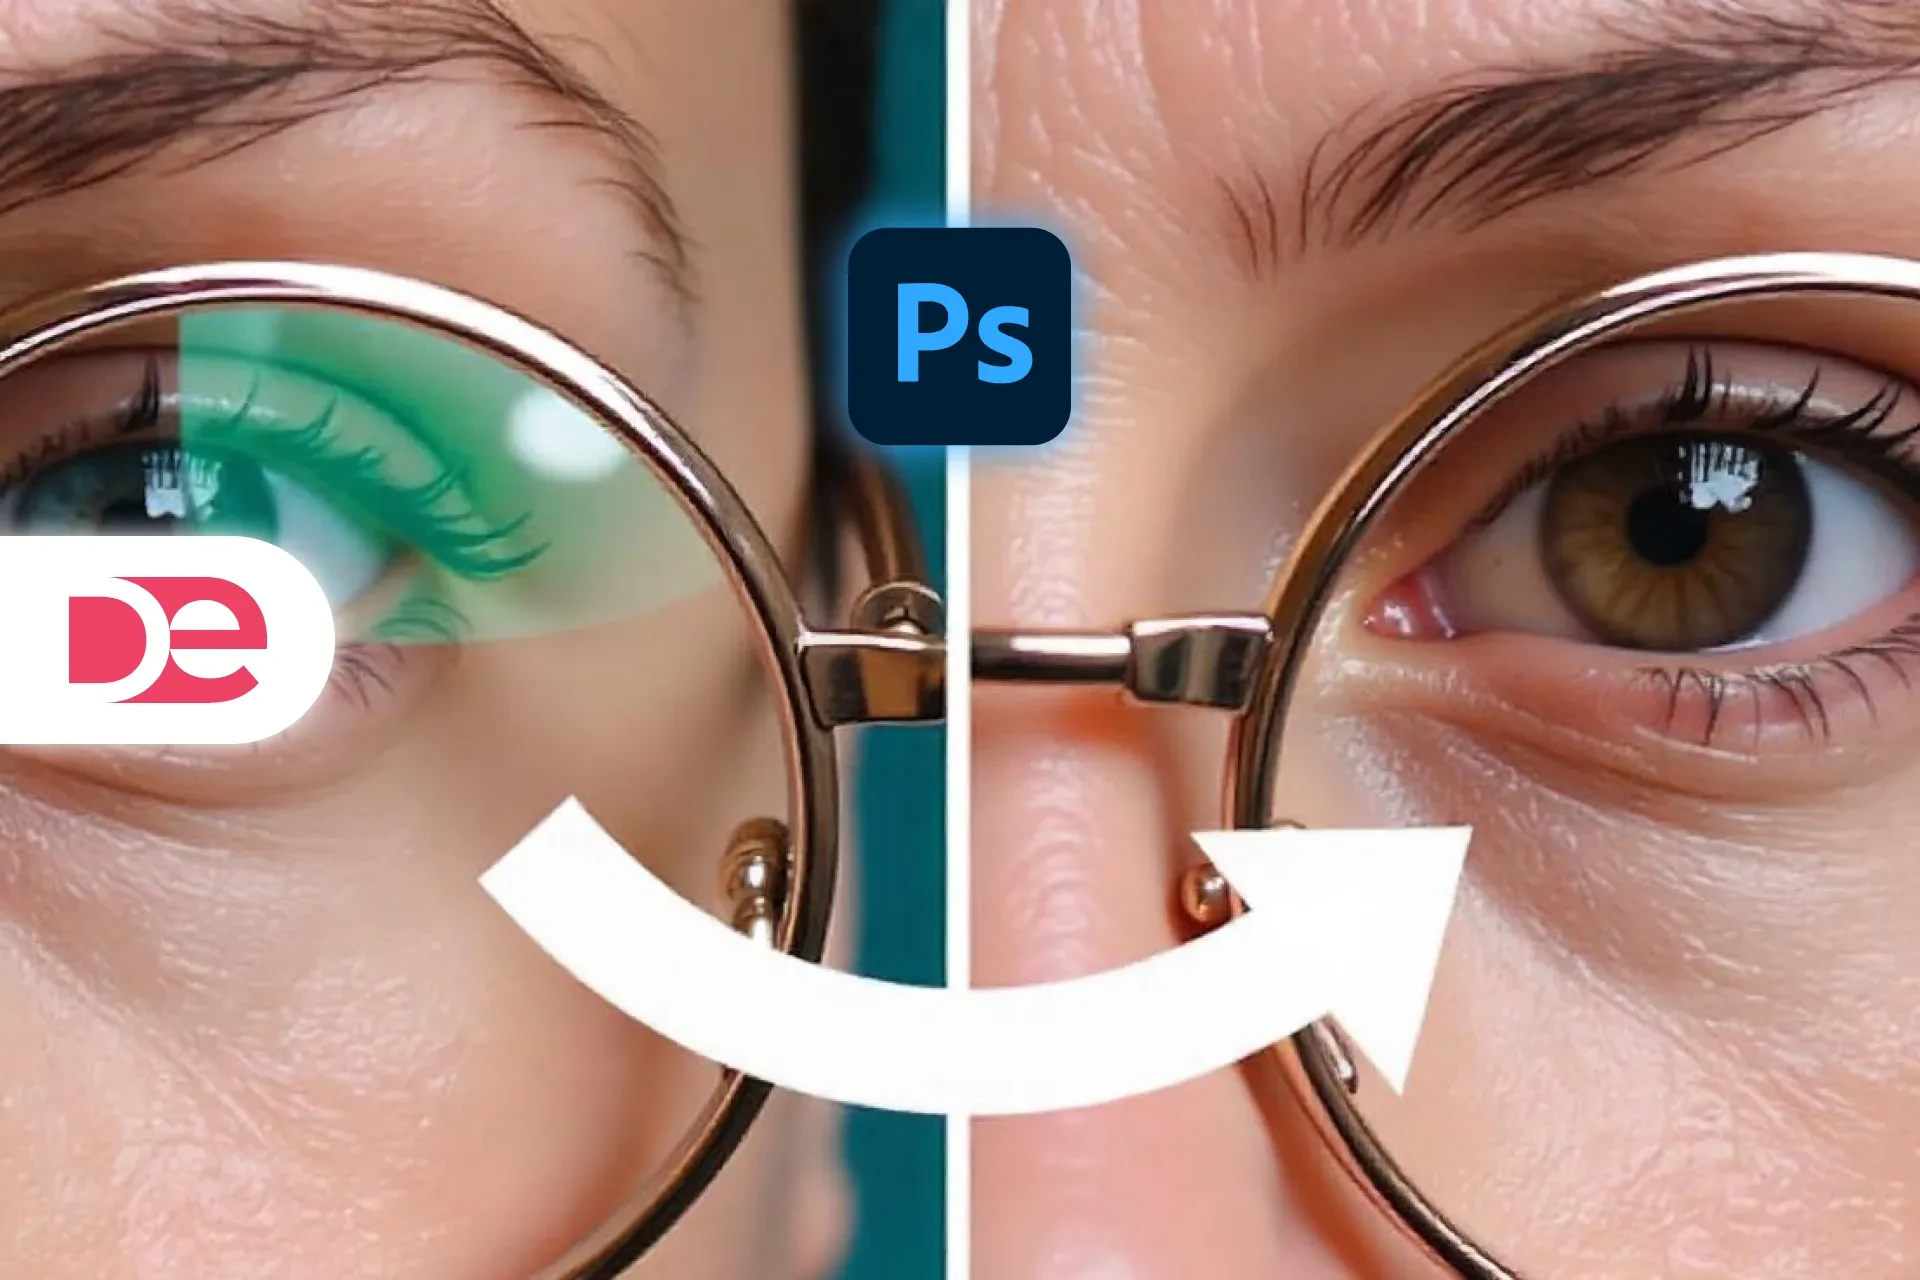
Glare on glasses is one of the most frustrating challenges in portrait photography. It can block the subject’s eyes and ruin an otherwise perfect photo. Luckily, Adobe Photoshop offers powerful tools to fix this quickly and professionally.
🏃♂️ Don’t have Photoshop yet?
Get the full version FREE for 7 days and follow this tutorial step-by-step.
Download Free Trial
Get the full version FREE for 7 days and follow this tutorial step-by-step.
Download Free Trial
2. Why Glare on Glasses Happens
Reflections occur when light hits the lenses at an angle, especially from flashes or strong ambient lighting. This can:
• Distract from the subject’s face
• Obscure eye contact
• Add unwanted highlights
3. Tools You Need in Photoshop
• Spot Healing Brush Tool
• Clone Stamp Tool
• Content-Aware Fill
• Layer Masks
• Lasso Tool
4. Preparation Before Editing
• Work with high-resolution images.
• Duplicate your layer to preserve the original.
• Use non-destructive editing (layers and masks).
5. Step-by-Step Instructions
5.1 Duplicate the Layer
Shortcut: Ctrl + J (Windows) or Cmd + J (Mac) This protects the original photo as you work.
5.2 Spot Healing Brush Tool
• Select the tool and enable Content-Aware.
• Paint over minor glare areas.
5.3 Clone Stamp Tool
• Alt/Option + Click to sample a clean area.
• Carefully paint over glare.
• Adjust opacity and flow for realism.
5.4 Reconstruct the Eyes
If glare fully obscures the eyes:
• Clone from the unaffected eye.
• Use another image of the subject for reference.
• Refine with Liquify Tool if needed.
5.5 Content-Aware Fill and Final Touches
• Use Lasso Tool to select glare.
• Go to Edit > Content-Aware Fill.
• Adjust brightness/contrast for consistency.

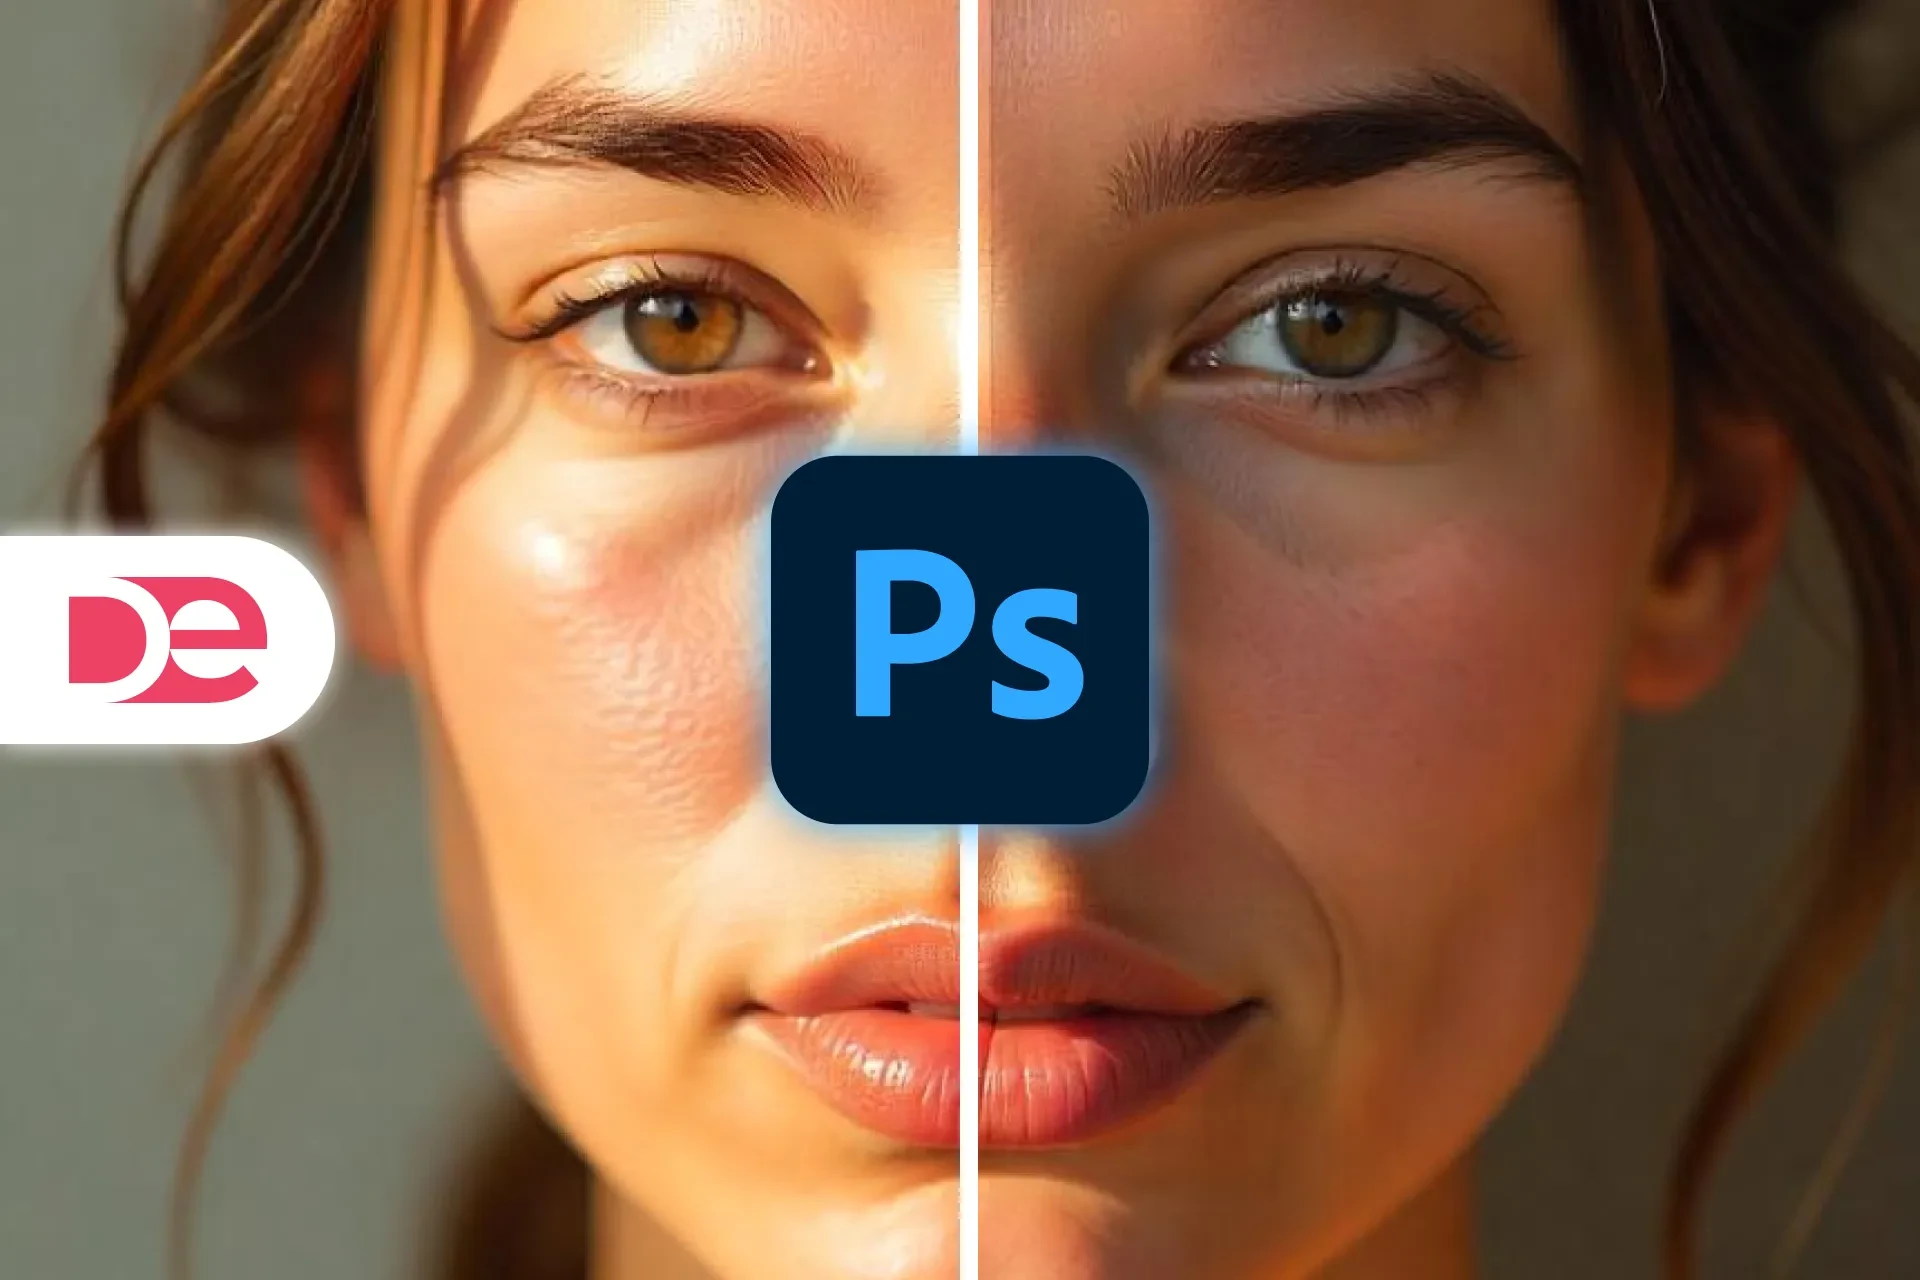
Retouch Faster with the Latest Photoshop
Remove glare, fix skin, and harness Firefly generative AI—directly on your layers.
Get Photoshop6. Advanced Editing Tips
• Low Flow Painting: Use 10–20% flow on Clone Stamp for smooth blending.
• Use Layer Masks to refine small details without permanent changes.
• Match Skin Texture and Lighting carefully to keep edits invisible.
7. Common Mistakes to Avoid
• Over-smoothing: Can make skin look fake.
• Inaccurate Eye Reconstruction: Avoid creating unnatural-looking eyes.
• Neglecting Light Behavior: Keep lighting consistent across edits.
FAQs
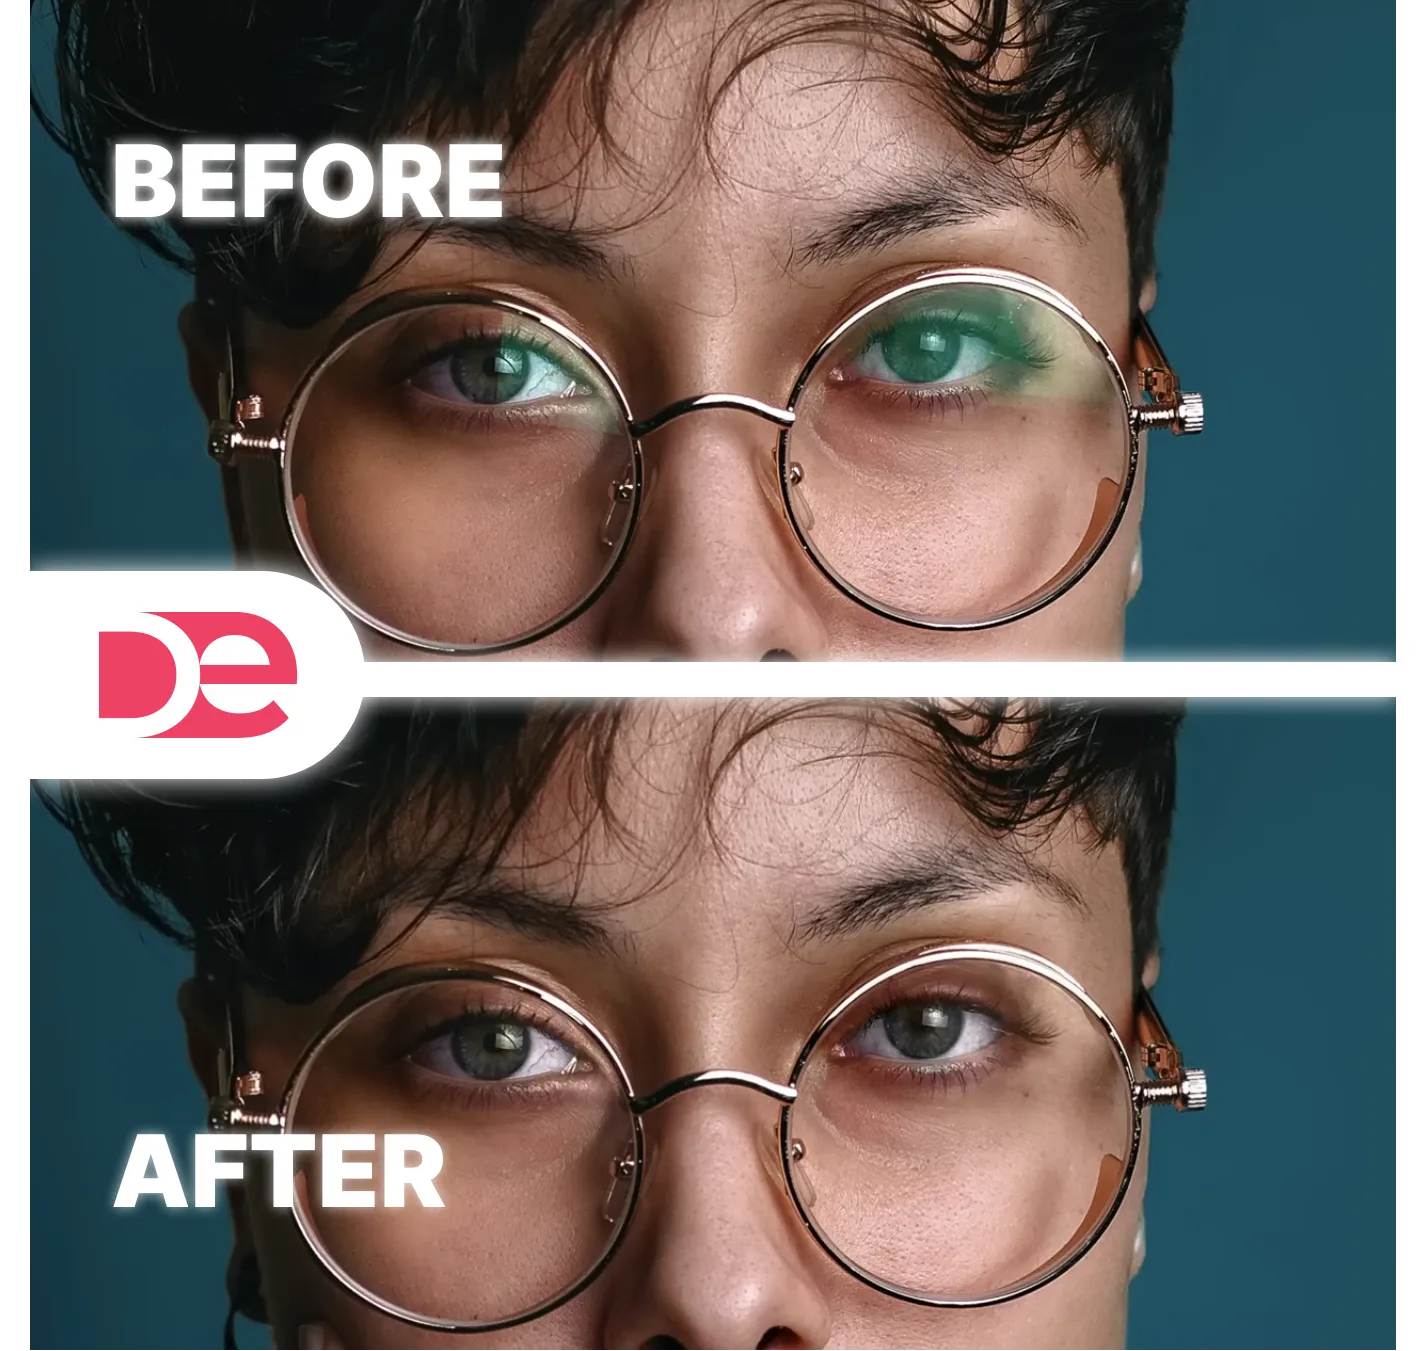
Removing glare from glasses can dramatically improve your portraits. Using Photoshop’s healing and cloning tools, along with layer masks and careful attention to lighting, you can create natural, clear images. Practice makes perfect—and once mastered, this skill becomes an invaluable part of your photo editing toolkit.
Want to level up your editing? Try Adobe Creative Cloud to access the latest tools for photo retouching and design.
Elevate Your Portraits with Adobe Photoshop →