


Affiliate disclosure: This article contains affiliate links. If you click and purchase, we may earn a commission at no extra cost to you.
Table of Contents
◉ Introduction ◉ What a Droplet Is (and how it differs from “hosting”) ◉ One-glance plan guide ◉ How a Droplet Works ◉ Step-by-Step: Launch your first Droplet ◉ Pricing in practice ◉ Pros, cons, and risk management ◉ Mini case study ◉ Common mistakes ◉ Expert tips ◉ FAQs ◉ Conclusion
Launching on the cloud shouldn’t feel like assembling a rocket. If you’re building a site, API, or MVP and want predictable bills and low-friction setup, a DigitalOcean Droplet is often the most direct path: a Linux virtual machine (VM) you can spin up in minutes, scale as you grow, and automate from day one. In this guide, you’ll learn exactly what a Droplet is, how it works, when to choose each plan, and how to deploy one safely—with real-world tips to keep costs in check and uptime high. We’ll also cover common mistakes (and how to avoid them) plus a mini case study you can copy. When you’re ready, you can create your first Droplet here: DigitalOcean.
A Droplet is simply a cloud server—familiar Linux under the hood, wrapped in an approachable control panel, CLI, and API. That mix of simplicity and control is why developers and small teams keep choosing it.
What a Droplet Is (and how it differs from “hosting”)
At its core, a Droplet is a Linux-based VM running on DigitalOcean’s infrastructure. You get root access, dedicated RAM, SSD/NVMe storage, a public IPv4/IPv6 address, and optional dedicated vCPUs if you need consistent compute. It’s the building block for everything from a single WordPress site to a horizontally scaled microservice architecture.
DigitalOcean currently offers multiple Droplet plan families—Basic (shared CPU) plus General Purpose, CPU-Optimized, Memory-Optimized, and Storage-Optimized (dedicated CPU)—so you can match compute to workload instead of overpaying.
One-glance plan guide
| Plan family | CPU type | Typical vCPU:RAM ratio | Good for |
|---|---|---|---|
| Basic | Shared | 1:1–1:4 | Blogs, test servers, low-to-moderate traffic apps |
| General Purpose | Dedicated | ~1:4 | Web apps, small DBs, balanced workloads |
| CPU-Optimized | Dedicated | ~1:2 | APIs, CI, video processing, data pipelines |
| Memory-Optimized | Dedicated | ~1:8 | Caches, in-memory DBs, analytics |
| Storage-Optimized | Dedicated | ~1:8 + high SSD per vCPU | Log/queue workers, indexing, storage-heavy apps |
How a Droplet Works: Networking, storage, security, and uptime
Networking. Every Droplet can live inside a VPC (Virtual Private Cloud)—an isolated private network where internal traffic doesn’t count against bandwidth usage. You can also attach Reserved IPs (static IPv4/IPv6) and instantly reassign them during failover to another Droplet in the same datacenter. Reserved IPs are free when attached.
Bandwidth. Each Droplet includes free outbound transfer (starting at 500 GiB/month on entry sizes); extra outbound is a flat $0.01/GiB. Inbound traffic is free. Transfer is pooled across Droplets on your team.
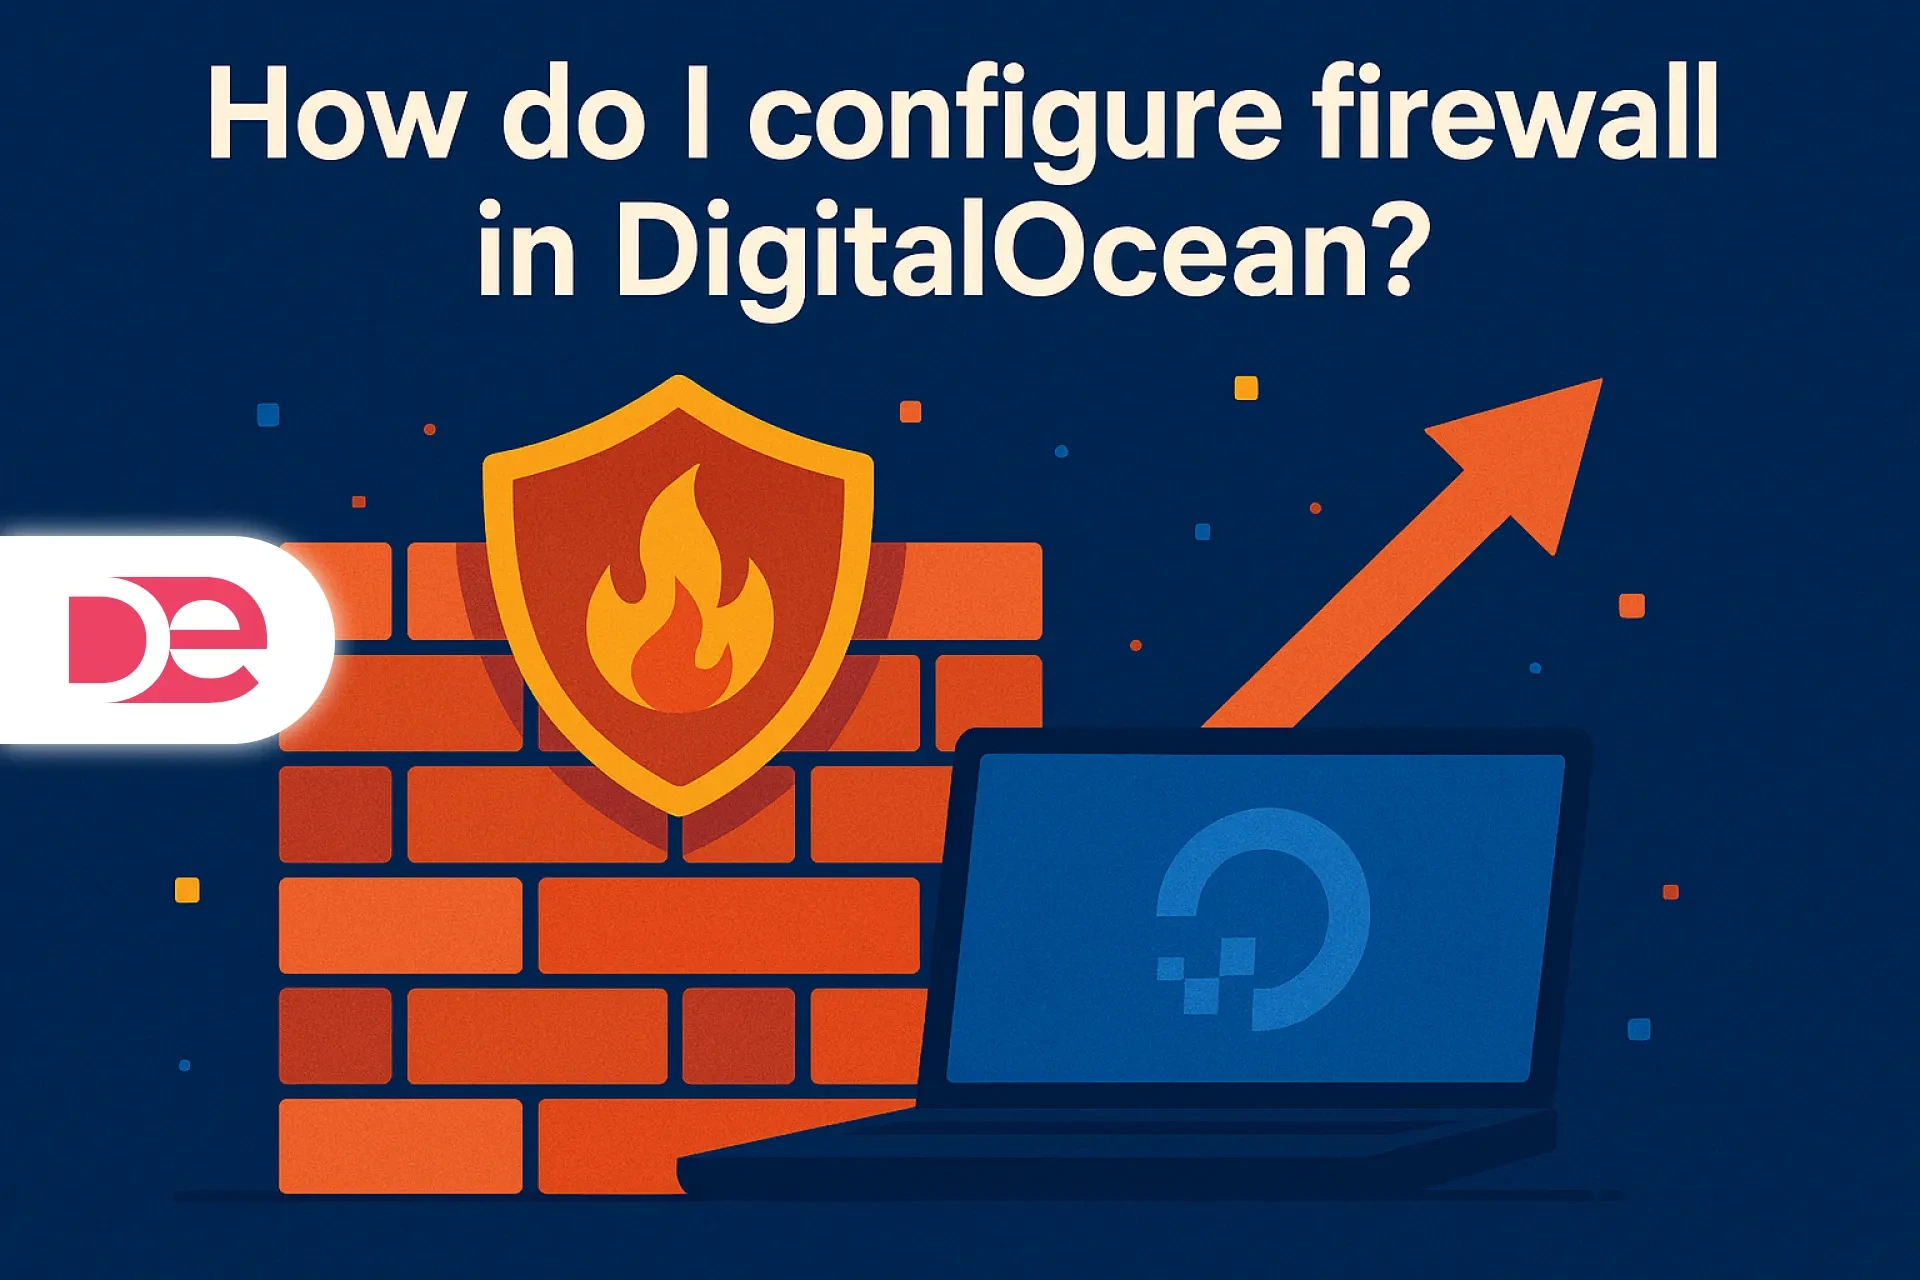
Security. Cloud Firewalls are free and stateful; they default-deny and let only rules you define. Pair that with a VPC to keep internal services entirely off the public internet.
Backups & snapshots. Turn on automated backups (paid) for point-in-time restores and use snapshots for one-off images or golden templates. Note that backups/snapshots aren’t downloadable directly; for off-cloud copies, use third-party tooling.
Reliability. CPU Droplets carry a 99.99% monthly uptime SLA; if DigitalOcean misses it, you’re credited for the lost time. GPU Droplets have a separate 99.5% SLA.
Scaling. You can scale vertically (resize resources) or horizontally (add Droplets behind a Load Balancer). DigitalOcean supports Droplet Autoscaling to adapt capacity with demand.
Step-by-Step: Launch your first Droplet (safely)
Before you click “Create,” prepare a tiny checklist so your server is production-ready on day one.
• Generate an SSH keypair locally (ed25519). You’ll use it instead of passwords for secure logins.
• In the control panel, click Create → Droplet. Pick an image (Ubuntu LTS is a safe default).
• Choose a plan: start with Basic for low traffic or General Purpose/CPU-Optimized for production APIs and build systems.
• Select a region near users to reduce latency.
• Under Authentication, add your SSH key; avoid password auth.
• Place the Droplet in a VPC and attach a Cloud Firewall (allow SSH 22 from your IP, HTTP/HTTPS for web).
• Enable Backups (recommended) and consider creating a snapshot once configured.
• Add a Reserved IP if you’ll need zero-DNS-change failovers later.
• Turn on Monitoring/Alerts in the UI or via doctl/agent.
• Click Create Droplet. In ~1 minute you’ll have a public IP and can ssh in.
Tip for later: you can resize CPU/RAM only (reversible) or CPU/RAM/disk (permanent disk increase). Plan ahead so you don’t lock yourself into a larger disk than you need.
Pricing in practice: predictable bills without surprise egress
One of DigitalOcean’s strengths is transparent pricing. Even the entry-level Droplet includes hundreds of GiB of outbound data; beyond that, overage is a flat $0.01/GiB, which makes forecasting much easier than tiered egress models.
If you’re cost-sensitive (and who isn’t), remember: managing cloud spend is the top challenge for organizations two years running. Translation: build with visibility and guardrails from day one.
Smart cost controls you can apply today
• Pool transfer across Droplets and keep chatty services on a VPC to avoid egress.
• Right-size: begin on Basic and monitor CPU steal/wait; jump to dedicated CPU if workloads spike.
• Prefer CPU/RAM-only resizes during traffic spikes to scale back later.
• Use Monitoring + alerts (CPU, memory, disk I/O, transfer) to catch runaway jobs early.
• Store static assets on Spaces/object storage with its own generous transfer, then front with a CDN if needed.
Pros, cons, and risk management
Pros
• Fast to production: intuitive UI/CLI/API, strong docs.
• Predictable costs: clear instance pricing and $0.01/GiB bandwidth overage.
• Security included: free Cloud Firewalls and private VPC networking.
• High availability options: Reserved IPs for instant failover; managed Load Balancers; 99.99% SLA on CPU Droplets.
• Autoscaling: add/remove capacity as demand shifts.
Cons
• Linux only: Droplets are Linux-based; Windows licensing/images aren’t first-class here.
• Backups/snapshots not directly downloadable, so plan an off-cloud export workflow if you need independent copies.
• GPU Droplets have a different SLA (99.5%), so capacity planning for ML workloads needs extra redundancy.
Risk management checklist
• Enable Backups and schedule snapshot points before big changes.
• Keep infrastructure-as-code (Terraform/Ansible) to recreate servers quickly.
• Put public services behind Cloud Firewalls; only open the ports you need.
• Use Reserved IPs for failover; rehearse reassignments.
• Isolate internal traffic inside a VPC; peer VPCs when needed.
• Monitor uptime against the 99.99% SLA and file for credits when applicable.
Mini case study: From side-project to steady traffic on one weekend
Scenario. You’re launching a documentation site + small API. Start small, keep options open.
Week 0 (launch)
• Create a Basic Droplet (1 vCPU/1–2 GB), Ubuntu LTS, SSH-only logins.
• Place it in a VPC; attach Cloud Firewall (22, 80, 443).
• Enable Backups; take a snapshot once your stack is ready.
• Assign a Reserved IP—you’ll use this for a zero-DNS failover.
Week 3 (traffic bump)
• Vertical resize (CPU/RAM only) during a promo; scale back on Monday.
• Add a second Droplet and a managed Load Balancer; both live in the same VPC.
• Keep an eye on transfer; your included 500 GiB+ pool plus $0.01/GiB overage gives you clean cost math.
Week 6 (steady growth)
• Turn on Droplet Autoscaling or use Terraform to scale out on metrics.
• Move static assets to Spaces and serve via CDN for cheaper egress.
Common mistakes (and how to avoid them)
• Using password login instead of SSH keys → disable password auth; add multiple keys for your team.
• Exposing everything on the public network → put admin panels on private VPC IPs; allowlist your office IP.
• Forgetting backups/snapshots → enable backups and set a snapshot routine before upgrades.
• Locking into a too-big disk → prefer CPU/RAM-only resizes unless you truly need a larger disk.
• No static IP strategy → attach a Reserved IP and practice reassigning it for failover.
• Ignoring egress costs → keep internal traffic in VPCs; cache/static content on Spaces/CDN.
Expert tips you can apply in minutes
• Tag resources (“web-api-prod-01”) to keep usage and alerts organized.
• Add uptime monitoring and alerts at 95% CPU and 80% RAM to catch issues before users do.
• Use the Metadata API inside your Droplet to discover its own ID/region and drive dynamic config.
• Consider Reserved IPv6—GA in 2025—if your audience benefits from dual-stack networking.
• Document a one-page incident playbook: who reassigns the Reserved IP, who scales, who communicates.
FAQ: Quick answers to related “People Also Ask” questions
Wrap-up: Start small, ship fast, scale with confidence
A Droplet gives you full-stack control with guardrails: private networking, free firewalls, snapshots/backups, and a 99.99% CPU Droplet SLA—plus bandwidth pricing that makes sense. Start with a small Basic Droplet, enable backups, place it in a VPC, and attach a Reserved IP. As traffic grows, resize or add nodes behind a Load Balancer, and automate with Terraform or the API. When you’re ready to build, spin up your first server here: Create a Droplet on DigitalOcean.