


Affiliate disclosure: This article contains affiliate links. If you click and purchase, we may earn a commission at no extra cost to you.
Table of Contents
◉ Introduction ◉ Definitions & Context ◉ Technique 1: Motion-Tracked Scribbles ◉ Technique 2: Split-and-Rebuild a Building ◉ Technique 3: Freeze-Frame Motion Trails ◉ Practical Mini Case Study ◉ One-Page Settings Reference ◉ Troubleshooting Guide ◉ Workflow Speed Boosters ◉ FAQs ◉ Conclusion
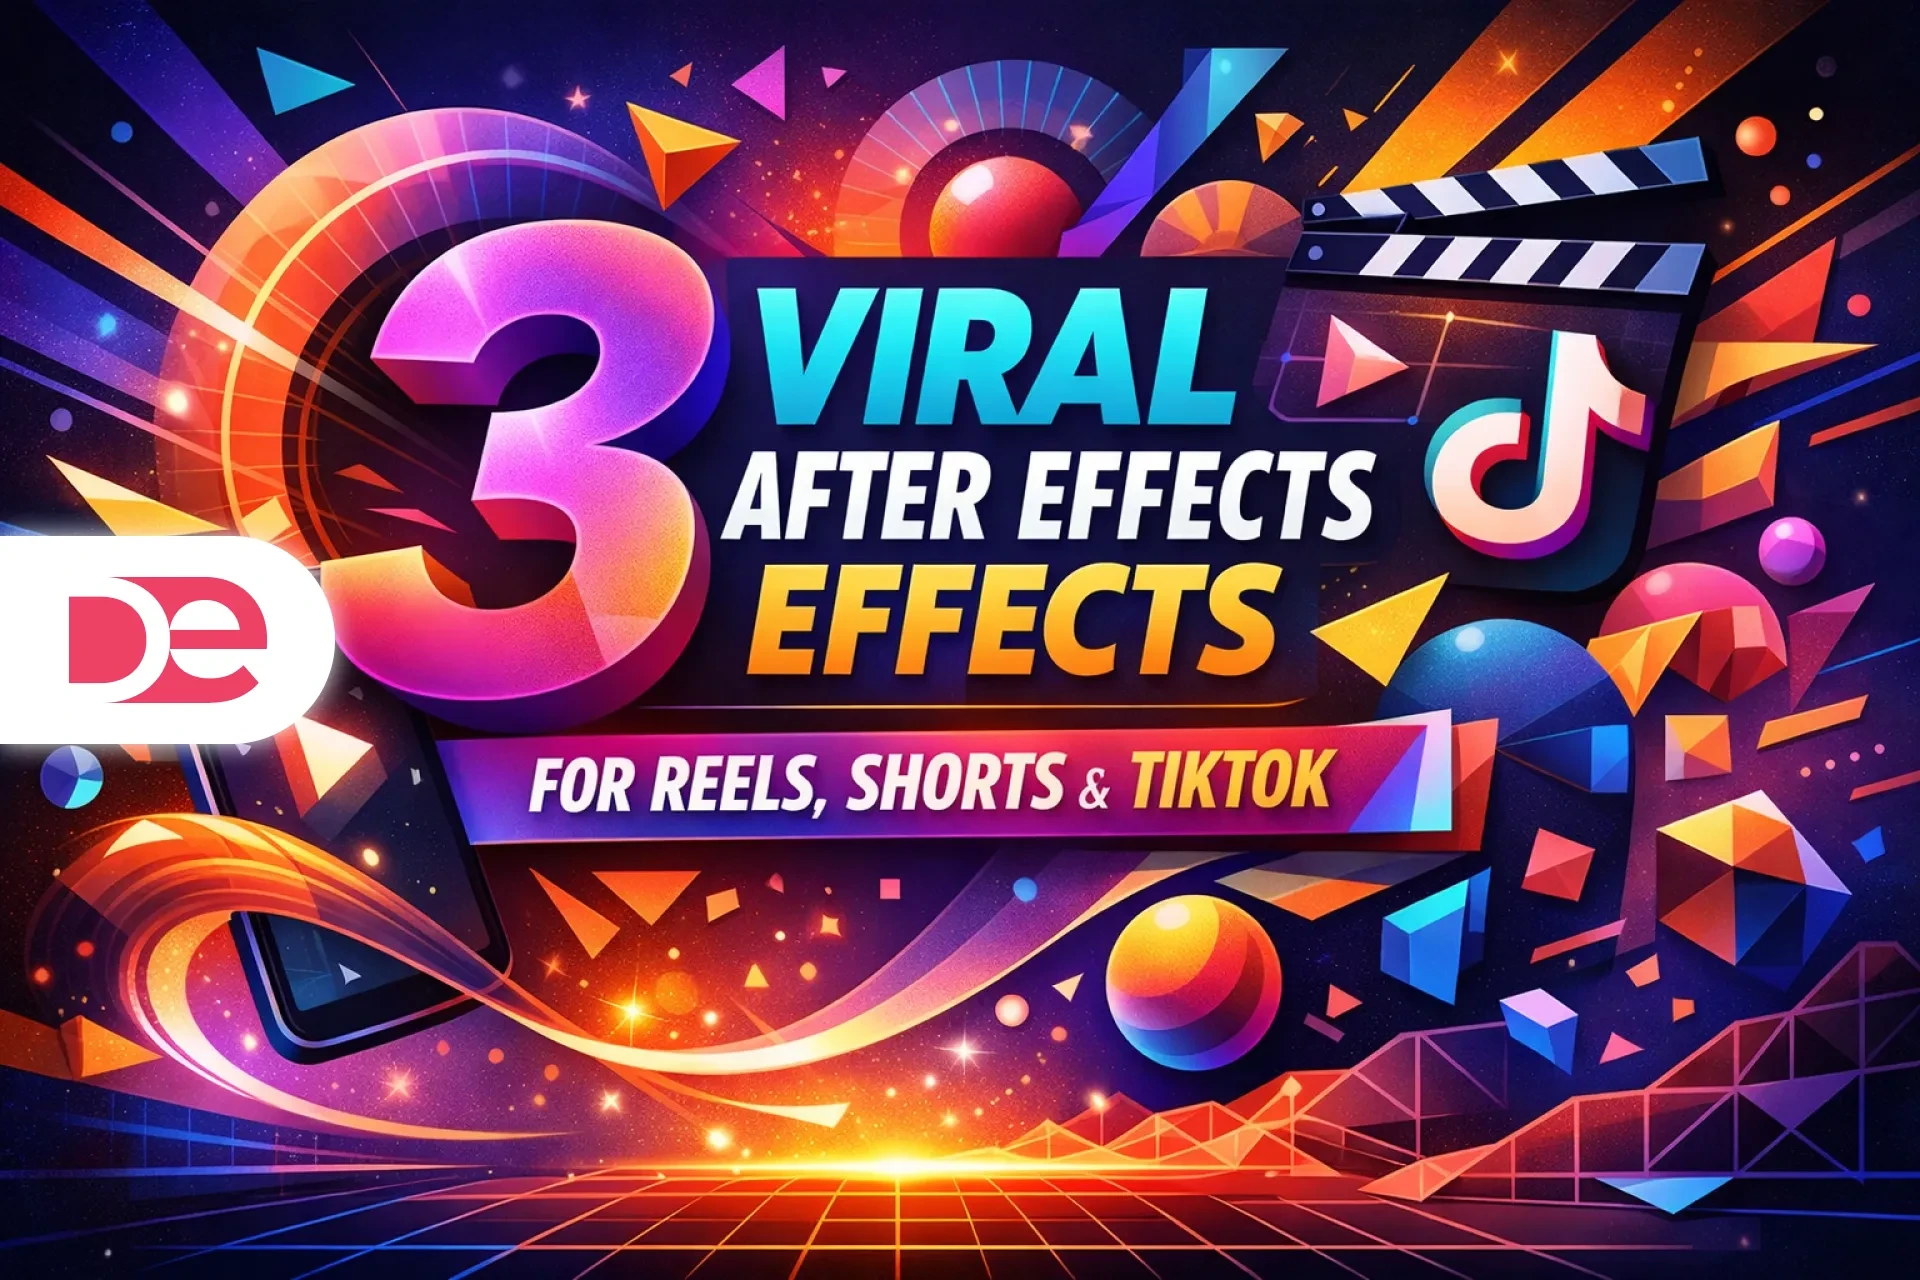
If you produce short-form content for Instagram Reels, YouTube Shorts, or TikTok, you have probably noticed the rising popularity of hand-drawn scribble accents, buildings breaking apart into animated sections, and athletes blasting across the frame with luminous motion trails. These visual styles look advanced, but once you understand the process, they are much easier to build in Adobe After Effects than they first appear. In this tutorial, you will learn three practical techniques inspired by a single creator workflow: a face-locked scribble effect, a modular building animation that separates and reassembles, and a freeze-frame motion trail designed for sports and action shots. Along the way, you will get step-by-step guidance, the reasoning behind each stage, common issues to watch for, and professional tips that help the final result feel intentional rather than overdone.
Don’t have After Effects yet?
Get started with After Effects and follow this tutorial step-by-step to create viral video effects.
Get After EffectsWhat You’ll Build (Definitions & Context)
Before getting started, it helps to define the core concepts so you can adapt the workflow to your own edits more easily:
• Motion tracking: The process of following a visible pixel detail in footage, such as a nostril or sharp facial feature, so a null layer can inherit that movement. Once graphics are parented to that null, they appear attached naturally to the shot.
• Null object: A control-only layer with no visible pixels. It acts as a central driver for position, rotation, or scale, allowing you to animate or track multiple layers more cleanly.
• Wiggle expression: An expression that introduces randomized motion over time using wiggle(frequency, amplitude). In small amounts, it creates an organic hand-drawn shake.
• Auto-Trace: A feature that converts a layer’s alpha or luminance into masks, which can then be used to animate effects like Scribble.
• Clean plate: A version of the background where the main foreground object has been removed, often built in Photoshop using Generative Fill or manual cleanup. This helps create believable gaps behind animated objects.
• Rotoscoping: The process of isolating a subject from its background with the Roto Brush or animated masks. It is key for building clean freeze clones and motion trails.
• Echo effect: An effect that repeats delayed frames of a layer. When combined with blur and color styling, it becomes a strong motion trail.
All three of these techniques can be created with standard After Effects tools. For extra finishing touches, you can add Chromatic Aberration and Glow with built-in effects or third-party plugins.
Create Viral Reels & Motion Effects Faster
Unlock powerful motion design tools in After Effects to create scribbles, motion trails, and cinematic edits that stand out on social media.
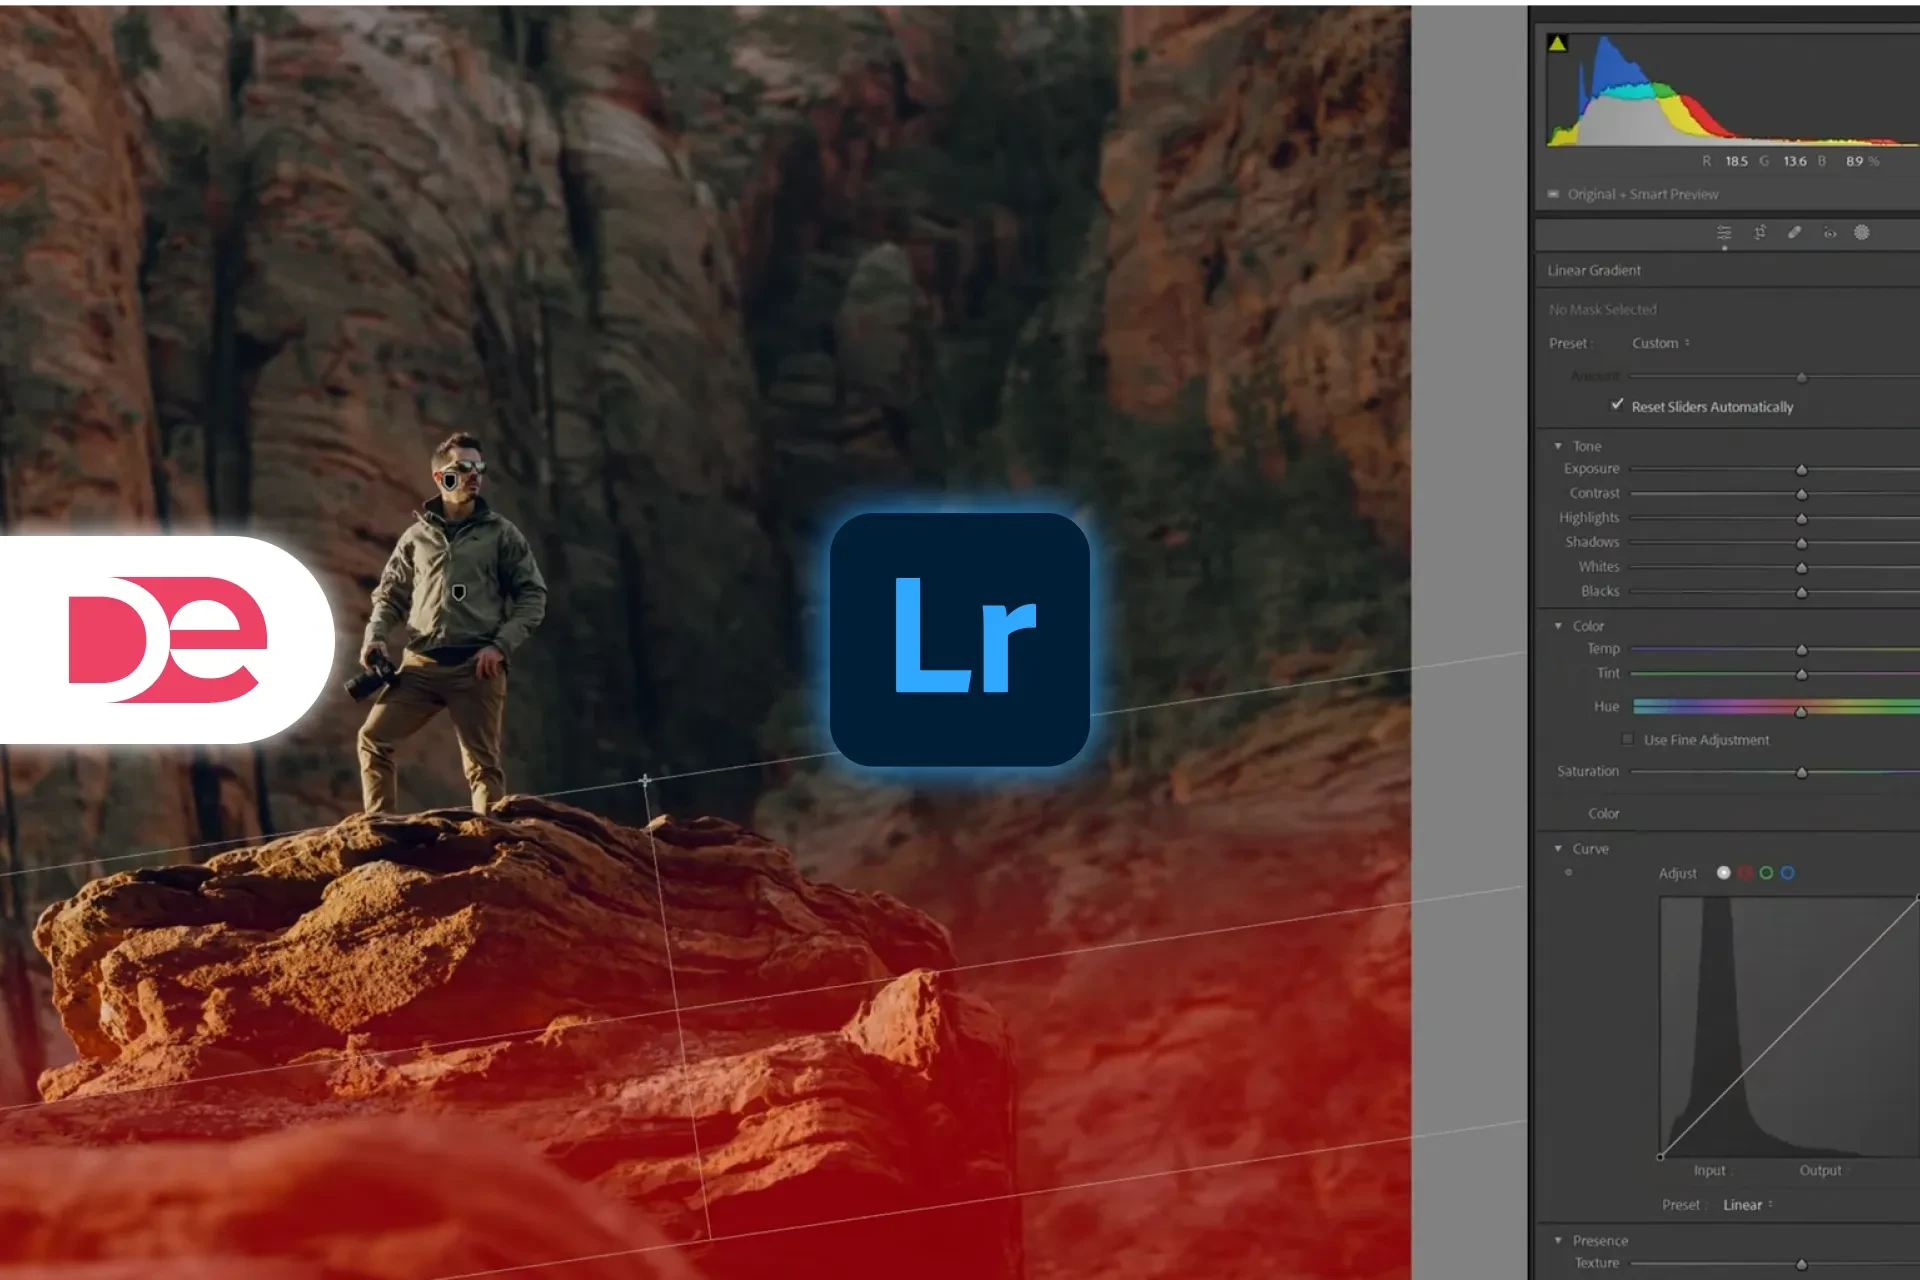
Start Creating NowTechnique 1: Motion-Tracked Scribbles That Stick to a Face
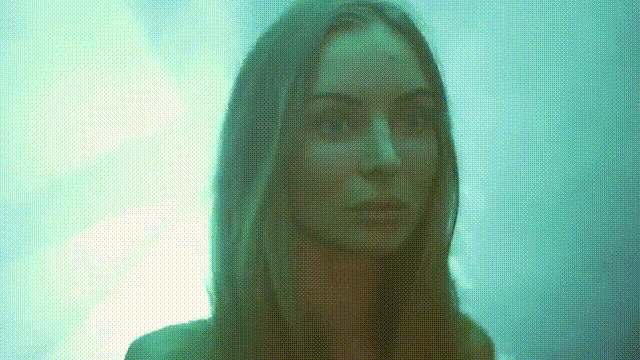
This effect overlays animated, hand-drawn marks that stay attached to the subject’s face or features. It works especially well for energetic intros, music edits, creator content, and playful branded videos.
Step-by-Step
1) Create your composition and track the face
• Import the footage and create a new composition.
• Open the Tracker panel (Window ▸ Tracker) and select Track Motion.
• Place the tracking point on a clear, high-contrast detail. A nostril works especially well because it is compact, easy to identify, and tends to stay visible through movement.
• Click Analyze Forward. You only need enough of the clip tracked to cover the specific scribble moments you plan to use.
2) Apply the tracking data to a null
• Go to Layer ▸ New ▸ Null Object.
• In the Tracker controls, choose Edit Target, set the null as the target, and click Apply.
• Scrub through the timeline to confirm the null follows the tracked facial feature accurately.
3) Import and position your scribbles
• You can create scribbles in Illustrator or use a downloaded vector pack, then import them into After Effects.
• Add the first scribble layer to the timeline and keep it very short, just a few frames, so the effect feels sharp and energetic.
• Position the scribble over the tracked feature and parent it to the null using the pick whip.
4) Add subtle motion with wiggle
• Press P for Position and S for Scale on the scribble layer. Alt/Option-click the stopwatch and enter:
wiggle(50, 10).
• This means 50 variations per second with an amplitude of 10 units, which adds a lively jitter that mimics imperfect hand-drawn movement.
5) Use Auto-Trace and the Scribble effect
• Select the scribble layer and go to Layer ▸ Auto-Trace. In the dialog, choose Channel: Alpha.
• Then apply Effect ▸ Generate ▸ Scribble.
• In the Scribble settings, set Paths: All Masks and Fill Type: Inside Edges.
• Adjust Stroke Width, Wiggle Type such as Jumpy, plus Spacing and Path Overlap to create a more animated, organic line style. This turns a static graphic into something that feels alive.
6) Polish the look
• Add a mild Chromatic Aberration effect and a soft Glow for extra energy.
• Duplicate the setup and place additional scribbles on different beats to build up complexity without overwhelming the shot.
Why it works: Small line instability and animated edge behavior signal to the viewer that the effect is hand-made. The result feels expressive and human while still staying readable and controlled.
Pros, Cons & Risk Management
• Pros: Fast to test, easy to scale because it is vector-based, and flexible across different visual styles.
• Cons: Poor tracking can make the scribbles slide; too much wiggle can feel messy; thick strokes can distract from the face itself.
• Risks & Mitigation:
• Track drift • Re-track using a tighter feature box, keep the tracking span shorter, and enable sub-pixel accuracy where possible.
• Too much clutter • Keep scribbles in short 6–12 frame bursts, vary the stroke widths, and fade them out with opacity keyframes.
• Bad color harmony • Sample colors from the scene or use white over darker grades for maximum clarity.
Common Mistakes & Expert Tips
• Mistake: Parenting the scribble directly to the footage instead of the null. Re-parent to the null so you have a cleaner control structure.
• Mistake: Forgetting to enable Motion Blur. Activate it both on the layer and for the composition.
• Tip: Layer two Scribble effects with different Wiggle Type settings, such as Smooth and Jumpy, for more organic movement.
• Tip: Animate Stroke Width slightly, around ±1 to 2 px, over a few frames to suggest hand pressure variation.
Technique 2: Split-and-Rebuild a Building (Modular Architecture Animation)
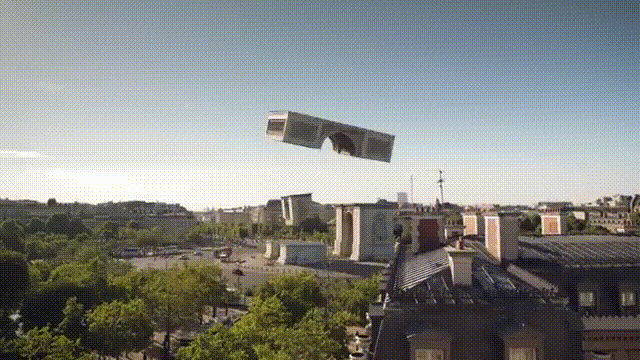
This effect is popular in architecture reels, urban edits, and design showcases. The idea is to take a static facade, divide it into multiple sections, reveal fabricated depth or interiors, and animate everything back together in a dramatic way.
Planning & Plate Prep
• Start with a building that has strong natural divisions like windows, structural bays, or decorative ledges. For your first version, use a shot with minimal camera movement.
• Export the first frame into Photoshop and use Generative Fill or manual retouching to remove the building, creating a clean plate. This will fill the empty areas once pieces move apart.
Layering the Scene
1) Build the background stack
• Import the clean plate and place it at the bottom of the composition.
2) Preserve real movement on the ground
• Duplicate the original footage. On the lower duplicate, mask the floor or street area so any pedestrians, traffic, or natural motion remains visible.
3) Create frozen building sections
• On the top duplicate, go to Time ▸ Freeze Frame.
• Duplicate that frozen layer for every building section you want to animate.
• On each duplicate, create a mask isolating a specific architectural chunk, such as a window row, ledge, or sign area.
Fabricating the “Insides”
• Behind each isolated section, draw simple interior shapes using the Pen tool and add radial gradients.
• Match the scene’s perspective so the depth feels physically believable.
• Pre-compose each building fragment together with its interior layer so you can animate it as a single module.
Animate the Reconstruction
• On each precomp, animate Position, Scale, and Rotation so the pieces move outward and then return into place as though the structure is rebuilding itself.
• Offset each layer by 2–4 frames to create a smoother cascade instead of having every section move at the same time.
• Add a gentle camera shake or a small null-driven global move to increase depth and make the shot feel more cinematic.
Pros, Cons & Risk Management
• Pros: Delivers strong production value even from still imagery, works with stock photos, and performs well in architecture or city-focused content.
• Cons: The workload increases with every extra section; incorrect gradients break the illusion; perspective mismatches are easy to notice.
• Risks & Mitigation:
• Empty gaps behind pieces • Use the clean plate as your foundational background filler.
• Harsh edges • Feather masks slightly, around 1–2 px, and enable Continuously Rasterize for vector sources.
• Interiors feel flat • Use layered gradients and add subtle noise to introduce texture and depth.
Common Mistakes & Expert Tips
• Mistake: Animating every section at the exact same moment. Stagger the timing to add rhythm and sophistication.
• Mistake: Scaling pieces too far so they leave the frame awkwardly. Keep movement within safe visual bounds.
• Tip: Add shadow layers under lifted sections by duplicating shapes, filling them black, applying blur, and parenting them to each precomp.
• Tip: Create a simple manual depth matte using grayscale layers and use it with Camera Lens Blur for more convincing separation.
Technique 3: Freeze-Frame Motion Trails for Action & Sports
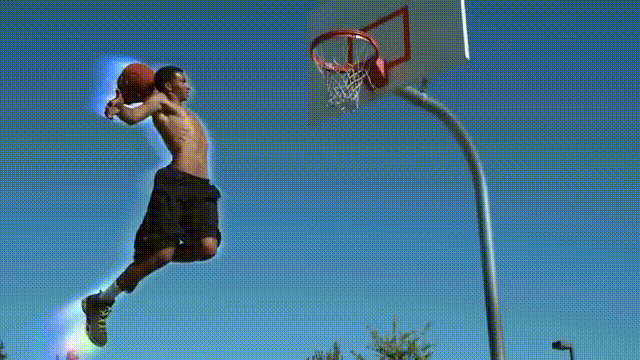
This effect duplicates a moving subject across its path using crisp freeze moments, then adds a stylized echo trail to emphasize speed and direction. It is especially effective for skateboarding, cycling, running, parkour, and other fast action footage.
Step-by-Step
1) Choose footage with clear directional movement
• The technique works best when the subject travels noticeably across the frame. Both normal-speed and slow-motion footage can work well.
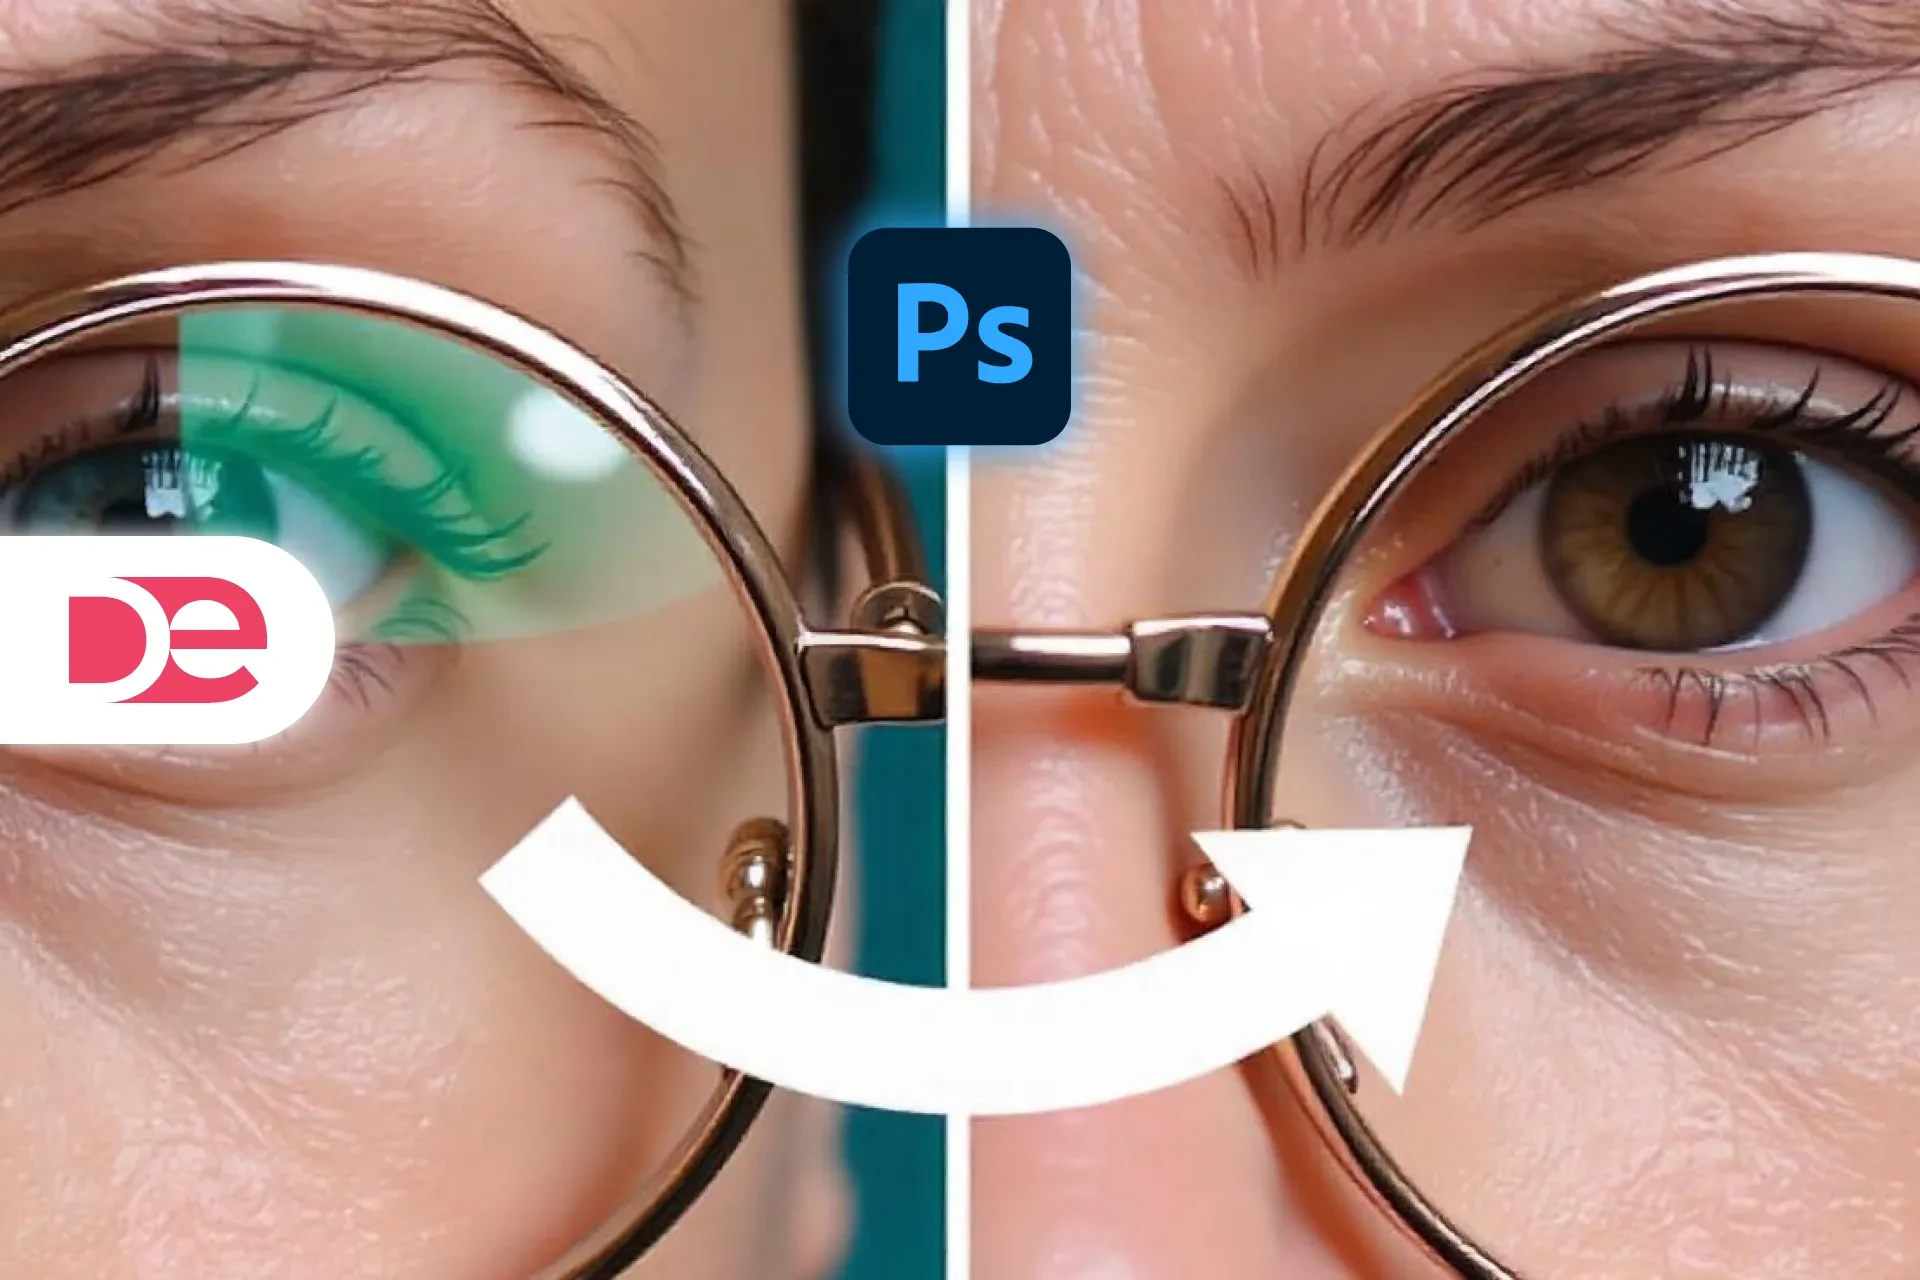
2) Rotoscope the subject
• Duplicate the clip and isolate the subject on the duplicate using Roto Brush. If you are still learning rotoscoping, pay extra attention to edge refinement, especially around motion blur and hair.
3) Build freeze clones
• Duplicate the roto layer several times.
• Move to a key action moment on each duplicate and choose Time ▸ Freeze Frame.
• Trim every frozen layer so it appears only at the chosen instant.
• Arrange the layer stack carefully: the live moving roto should sit on top, while older freeze clones remain underneath in time order. This keeps the occlusion believable as the real subject moves forward.
4) Create the trail pass
• Duplicate the original source clip, not the roto layer, and apply Effect ▸ Time ▸ Echo.
• Increase Echo Time, raise the Number of Echoes, and lower Decay slightly to shape the trail.
• Add Directional Blur so the streak follows the real movement direction, and extend Blur Length until the trail feels fast but still readable.
• For added style, apply Hue/Saturation to tint the echo, then add soft Glow and Chromatic Aberration if desired.
Why it works: The freeze moments draw attention to the strongest action beats, while the echo trail shows the path and speed of movement. Together, they turn motion into a clearer visual story.
Pros, Cons & Risk Management
• Pros: Delivers strong visual drama, clearly communicates movement, and gives you room for creative color branding.
• Cons: Rotoscoping takes time; echo settings can become messy quickly; too much trail can overpower the subject itself.
• Risks & Mitigation:
• Chattering roto edges • Use Refine Edge Matte, add slight grain, and consider rendering intermediate passes when needed.
• Excessive echo • Keep echoes in the 4–7 range, with decay around 0.6–0.8, and align blur to the actual direction of travel.
• Highlight clipping • Work in 32-bit when pushing glow and aberration, and rein in levels with Lumetri or Levels.
Common Mistakes & Expert Tips
• Mistake: Freezing frames too early before choosing the strongest action beats. Map out hero moments first, then build the clones.
• Mistake: Letting the clones appear disconnected from the ground. Add drop shadows that match the scene lighting.
• Tip: Scale older clones down very slightly, around 1% per clone, to enhance the feeling of depth.
• Tip: Use a subtle light wrap sampled from the background to blend the clone edges into the scene more naturally.
Practical Mini Case Study: Creator Reel Sequence
Scenario: You are editing a 20-second creator reel. The edit opens with face-tracked scribbles, cuts into a quick modular building animation, and ends with a skateboard motion trail sequence.
Plan
• 0–6 s • Tight talking-head intro with scribbles landing on word accents. The wiggle effect follows beat markers for added energy.
• 6–13 s • Hard cut to a building split where sections pull outward, interiors glow, and the pieces snap back together on the bass hit.
• 13–20 s • Skate trail section with three freeze clones on key ollie moments, plus an echo streak behind the live pass using brand-colored glow.
Why it works
• All three effects share a similar visual language built around outlines, edges, and controlled movement, which keeps the reel coherent.
• Each effect supports a different storytelling job: identity and personality through scribbles, location through architecture, and performance through action trails.
One-Page Settings Reference (At-A-Glance)
| Task | Setting | Starting Value (Tweak Per Shot) |
|---|---|---|
| Scribble wiggle | Expression | wiggle(50, 10) |
| Scribble paths | Paths / Fill | All Masks / Inside Edges |
| Building interiors | Gradient | Radial, 20–40% center brightness |
| Freeze clones | Order | Live roto on top, oldest clone at bottom |
| Echo trail | Echoes / Decay | 4–7 / 0.6–0.8 |
| Echo blur | Directional Blur | Angle matches travel; Length 20–60 |
| Global polish | Glow | Threshold low, Intensity 0.3–0.8 |
Use these values as a starting framework. Each shot may need its own adjustments depending on motion, contrast, and pacing.
Troubleshooting Guide
• Scribble slips off the face
• Re-track with a tighter search area and choose a feature that remains visible, such as the nostril or outer eye corner.
• If the head turns significantly, use Perspective Corner Pin tracking or switch to Mocha AE for planar tracking.
• Auto-Trace produces messy masks
• Apply a slight blur first, such as Fast Box Blur at 1–2 px, to simplify the edges before tracing.
• Lower the Tolerance setting in Auto-Trace and use the Alpha channel whenever possible for cleaner fills.
• Building pieces look fake
• Add contact shadows, soft ambient darkening, and interiors that match the shot’s perspective.
• Push layers slightly in Z-space if using 3D, and add a mild camera move for believable parallax.
• Motion trail smears the whole frame
• Apply Echo to a duplicate background layer, not directly to the roto subject.
• Use a mask or track matte on the echo pass so it does not visually compete with the main face or body.
Workflow Speed Boosters
• Precomps as modules: Pre-compose building sections early so you can duplicate and reuse the setup faster across shots.
• Markers: Press * on the numpad to place beat markers and line up scribble hits or freeze-clone reveals more precisely.
• Adjustment layers: Put glow and chromatic effects on adjustment layers when possible for easier global control.
• Color management: Switch to 32-bpc when layering glow and blur to reduce banding and maintain cleaner highlights.
• Versioning: Save separate project versions for each technique, such as _scribble, _building, and _trail, so experimentation stays organized.
FAQ's
Conclusion
You now have three visually strong After Effects techniques that can be used across creator intros, music edits, branded reels, and sports content without demanding an overly complex setup. Start with the face-tracked scribble on a short clip so you can get comfortable with tracking, timing, and line movement. Then move on to a simple two-part building test to practice clean plates, masking, and modular animation. Finally, capture a short action shot and build freeze-frame motion trails that feel fast, readable, and controlled. Keep your project organized, use glow and chromatic polish with restraint, and focus closely on rhythm. In the end, timing is what transforms an effect from interesting to memorable.
Get After Effects & Start Creating Viral Edits