


Table of Contents
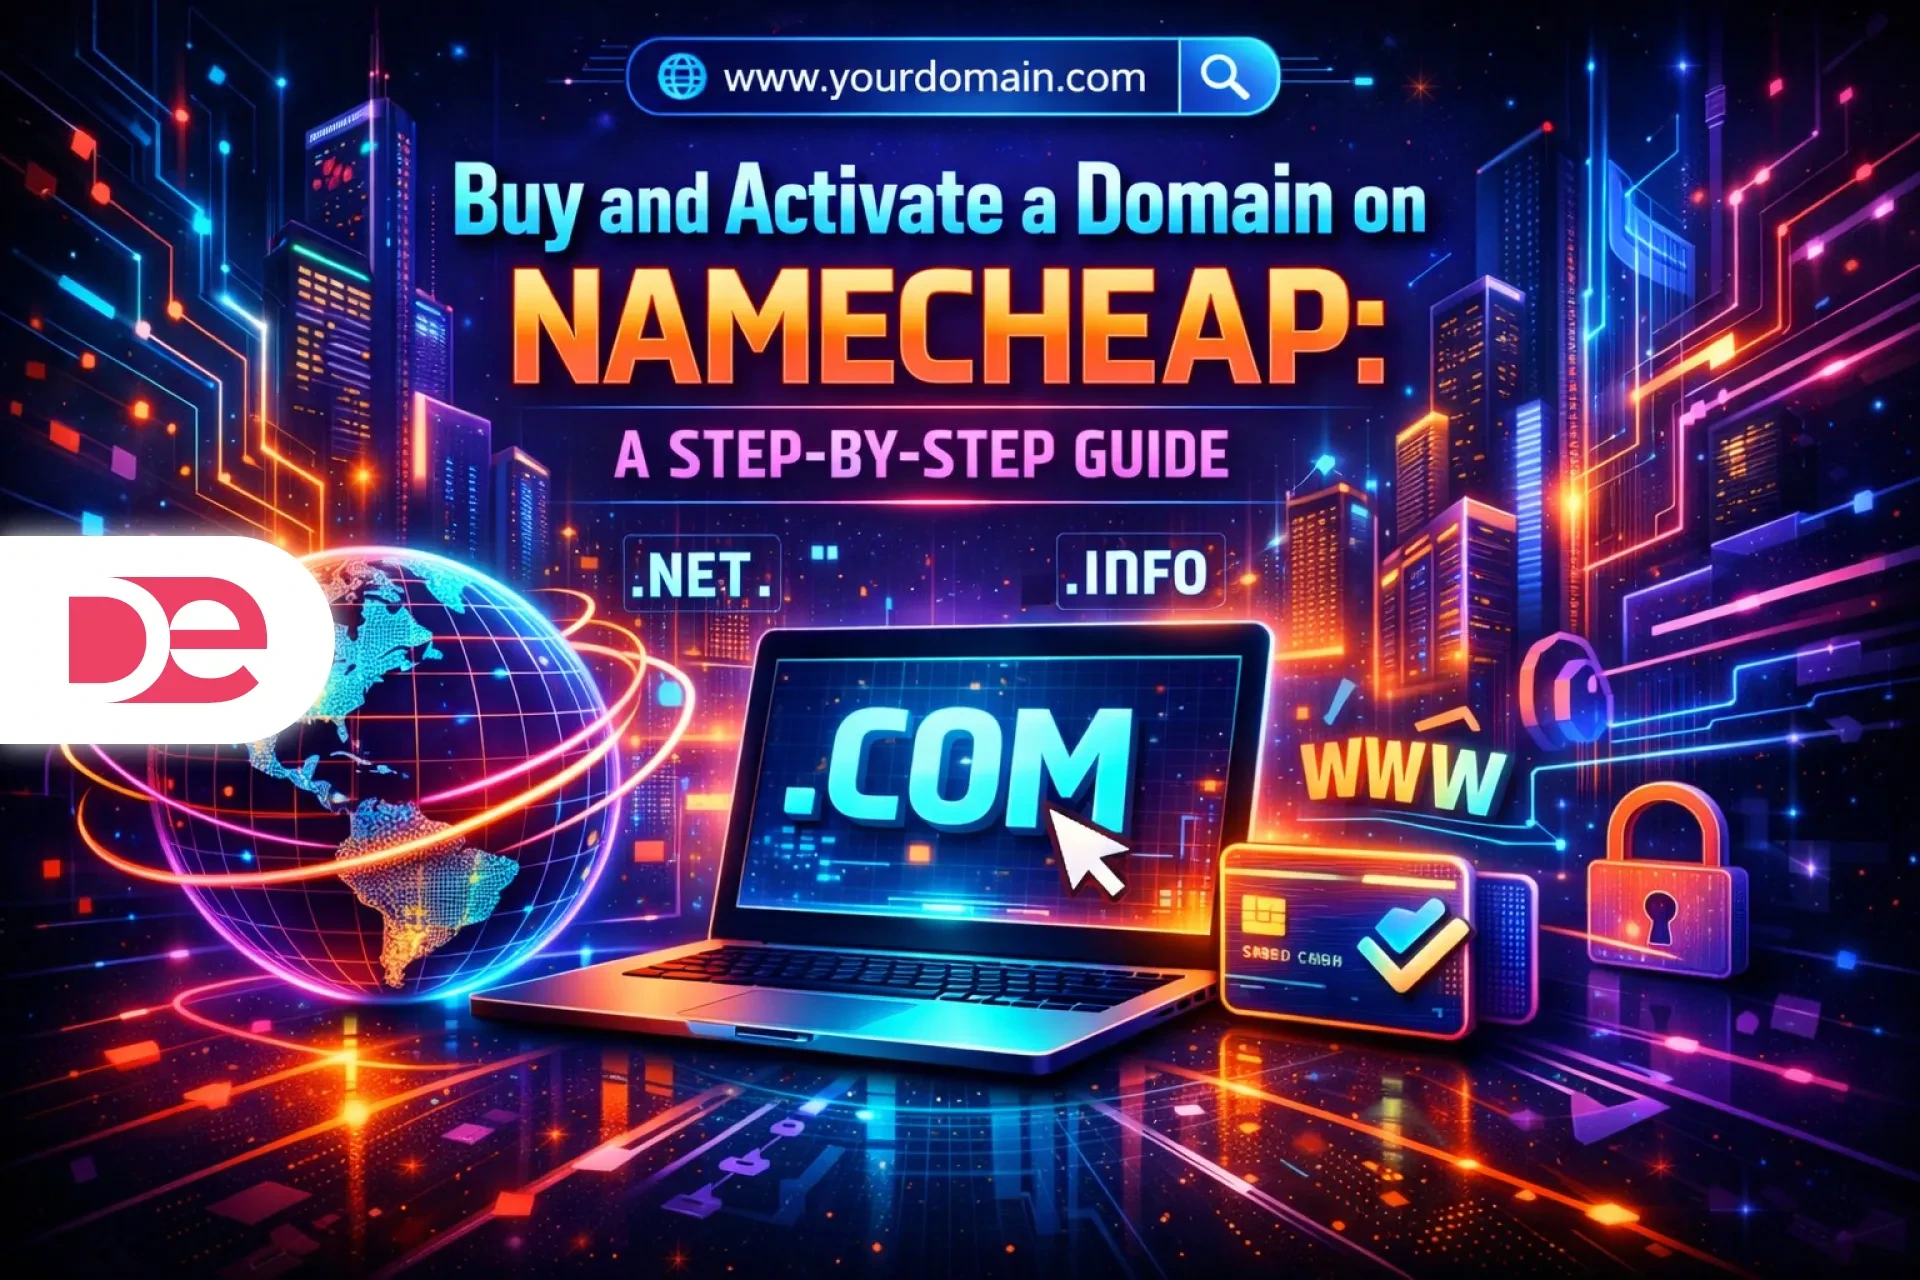
◉ Buy and Activate a Domain on Namecheap: A Step-by-Step Guide (Plus Cost-Saving and Setup Tips) ◉ What you’ll need before you start ◉ Key concepts (so the rest of the tutorial makes sense) ◉ Step 1: Start with pricing strategy (how to avoid paying more than you need) ◉ Step 2: Check domain availability (and evaluate smarter alternatives fast) ◉ Step 3: Add the domain to your cart (and resist unnecessary upsells) ◉ Step 4: Turn on domain privacy (why it matters and when to double-check it) ◉ Step 5: Decide on auto-renew (the safety net that prevents losing your domain) ◉ Step 6: Choose your registration length (1 year vs. multiple years) ◉ Step 7: Create your Namecheap account (and why you shouldn’t skip it) ◉ Step 8: Use real contact information (yes, even with privacy enabled) ◉ Step 9: Pay, confirm the order, and save your receipt ◉ Step 10: Confirm activation in your dashboard (and check the expiration date) ◉ Step 11: Watch for verification emails (a common activation blocker) ◉ Step 12: Connect your domain to hosting or DNS (without breaking anything) ◉ Mini case study: A practical setup for a new AI tools blog ◉ Troubleshooting: Common problems and how to fix them (symptom → cause → fix) ◉ Security and privacy best practices (worth doing on day one) ◉ Alternatives and decision guide (when Namecheap isn’t the best fit) ◉ FAQ ◉ Next steps: Make your domain “production-ready”
A domain name is the front door to everything you’ll build online—your website, email addresses, brand credibility, and search visibility. Buying one takes minutes, but small choices at checkout can cost you money, expose your personal details, or create painful “my domain stopped working” surprises later. In this guide, you’ll learn a clean, repeatable workflow to choose an available domain, purchase it on Namecheap, and confirm it’s fully activated. You’ll also learn how to avoid common traps—like typos, unnecessary add-ons, and missed verification steps—and how to make smart calls on privacy, renewal, and multi-year registration.
By the end, you’ll be able to:
• Confirm whether a domain is available (and evaluate alternatives quickly)
• Purchase a domain with the right privacy and renewal settings
• Verify activation emails and see your expiration date
• Point the domain to hosting or DNS safely without breaking anything
• Troubleshoot the most common “it doesn’t work” scenarios with a practical checklist
What you’ll need before you start
Keep these items handy so you don’t stall mid-checkout:
• A short list of domain candidates (at least 3–5)
• A payment method (credit/debit card or other supported option)
• Accurate contact information (your legal name, email, address, phone)
• A decision on whether you want auto-renew enabled
• (Optional) Your hosting provider’s DNS or nameserver details if you’re connecting hosting immediately
If you’re buying for a business, consider using a company email address you’ll keep long-term (not a personal inbox you might abandon).
Key concepts (so the rest of the tutorial makes sense)
Domain registrar: The company you buy the domain through and manage renewals, contact info, and DNS settings. Namecheap is a registrar.
TLD (top-level domain): The extension at the end of a domain (like .com, .net, .org, .co.uk). Different TLDs can signal different intent (brand, region, niche).
Domain privacy (WHOIS privacy): A service that hides your personal registrant info from public lookup databases. Without it, your name, address, phone, and email may be visible.
Auto-renew: A setting that renews the domain automatically before it expires, typically charging your saved payment method.
Nameservers / DNS: The settings that tell the internet where your domain “lives”—your website host, email provider, and other services.
Step 1: Start with pricing strategy (how to avoid paying more than you need)
A common mistake is going straight to a registrar’s homepage and buying the first domain you see at full price. Registrars frequently run promotions, and pricing can vary depending on where you begin your purchase flow.
Practical ways to reduce cost without doing anything sketchy:
• Look for current promotions on the registrar’s official pages or marketing landing pages.
• Compare first-year pricing vs. renewal pricing so you aren’t surprised next year.
• If you’re buying multiple domains (brand + common misspellings + a few TLDs), discounts often matter more.
Important: Discounts are usually most meaningful in year one. Your bigger long-term savings come from choosing the right registrar policies (privacy, renewal clarity) and avoiding paid add-ons you don’t need.
Step 2: Check domain availability (and evaluate smarter alternatives fast)
Search your first-choice domain. Two outcomes usually happen:
If the domain is taken
If it’s already registered, you can’t simply “force” it. Your best move is to pivot quickly without getting attached.
Use a structured alternative process:
• Keep the brand root, change the modifier: get, try, hq, app, labs, use
• Add a location or niche: nyc, ai, tools, studio, media
• Consider a different TLD if it won’t confuse your audience
If the domain is available
You’ll typically see an “available” indicator. At that point, most registrars will show additional TLD variations (like .net, .org, country TLDs). This is valuable for brand protection, but don’t overbuy.
Simple decision rule:
• If you’re building a U.S.-focused brand, prioritize .com when possible.
• If .com isn’t available, choose a TLD that won’t be misread or mistyped by your audience.
• If you’re region-specific (UK, for example), a country TLD can be a strong signal.
In this image, show a domain search results page with one example marked unavailable and another marked available, plus a list of suggested TLD variations. This helps you recognize what “available” looks like and where alternatives appear.
Step 3: Add the domain to your cart (and resist unnecessary upsells)
After you select your domain, you’ll land in a cart or “review item” flow. This is where registrars often present add-ons.
Here’s how to handle this phase like a pro:
• Confirm you selected the correct domain and TLD
• Ignore optional add-ons unless you already know you need them
• Remember: you can usually add services later at similar pricing
The typo check (do this before anything else)
This is the easiest expensive mistake to make: purchasing a domain with a subtle misspelling you don’t notice until it’s too late.
Do a “3-point typo check”:
• Read the domain aloud
• Compare it to your notes or brand name letter-by-letter
• Verify the TLD (.com vs .co, .net, etc.)
Step 4: Turn on domain privacy (why it matters and when to double-check it)
Every domain needs registrant details tied to a real person or organization. Without privacy protection, that information can be publicly searchable via WHOIS.
Domain privacy helps reduce:
• Spam emails and robocalls
• Unwanted solicitation to your home or business address
• Identity and brand impersonation risk
If privacy is included (as it often is with certain registrars), make sure it’s enabled at checkout and remains enabled in your domain dashboard afterward.
In this image, show the checkout section where domain privacy is visible and toggled on. This makes it easier to confirm you’re not accidentally exposing registrant details.
Step 5: Decide on auto-renew (the safety net that prevents losing your domain)
Auto-renew is one of those settings you only appreciate after you’ve experienced the pain of forgetting a renewal.
If your domain expires, you may face:
• Website downtime
• Email disruption (including password resets and customer support)
• Risk someone else registers your domain if it becomes available again
When to enable auto-renew:
• Your domain is tied to a business, portfolio, or long-term project
• Your domain is printed on marketing materials, business cards, or ads
• You don’t want calendar reminders for renewals
When to disable auto-renew (rare, but valid):
• You’re buying a short-term test domain you may intentionally drop
• You track renewals in a central finance system and prefer manual control
• You’re registering many domains and want to review them annually
Step 6: Choose your registration length (1 year vs. multiple years)
You’ll usually be offered a choice: register for one year or multiple years upfront.
A practical way to think about it:
• 1 year is flexible and fine for experiments.
• Multiple years can reduce “renewal anxiety” and helps keep your core brand stable.
Some people register core brand domains for several years at once to avoid forgetting and to lock in continuity. Even if pricing changes over time, the operational benefit—fewer renewal touchpoints—can be worth it.
Here’s a quick decision guide:
| Option | Best for | Upside | Tradeoff |
|---|---|---|---|
| 1 year | Testing ideas, short projects | Low commitment | You must remember renewals |
| 2–3 years | Side projects becoming serious | Fewer renewals | Slightly higher upfront cost |
| 4–6 years | Primary brand/domain | Long-term stability | Least flexible if strategy changes |
(That’s the only table in this article—use it as your “buying posture” reference.)
Step 7: Create your Namecheap account (and why you shouldn’t skip it)
Some checkout features (like applying certain promo codes) may require an account. Even beyond discounts, the account is essential for managing:
• DNS changes
• Domain privacy settings
• Renewals and billing
• Ownership and contact updates
Use a strong password and enable multi-factor authentication if available. Your registrar account is a high-value target because control of it can redirect your website and email.
Step 8: Use real contact information (yes, even with privacy enabled)
People sometimes enter fake registrant details to “protect privacy.” That can backfire.
Why real info matters:
• Domain ownership disputes can require identity validation
• Some registries require accurate details for compliance
• You may need to confirm domain-related emails tied to your contact profile
The safer approach is:
• Provide accurate details
• Enable domain privacy
• Keep access to the email address you register with
Step 9: Pay, confirm the order, and save your receipt
Once you complete payment, you should see a success confirmation and typically a receipt. If this domain is for a business, that receipt matters for accounting and reimbursements.
A good habit:
• Save the receipt PDF (or email)
• Note the domain name and expiration date
• Store the registrar login in a secure password manager
Step 10: Confirm activation in your dashboard (and check the expiration date)
After purchase, go to your account dashboard and find your domain list. You should be able to see:
• The domain name you purchased
• Its status (active, pending verification, etc.)
• The expiration date
• Management options (DNS, contacts, renewal settings)
This is the moment to catch any mismatches:
• Wrong spelling
• Wrong TLD
• Privacy disabled
• Auto-renew not set the way you intended
In this image, show the registrar dashboard view listing domains with an expiration date column and a “Manage” button. This helps you confirm the purchase is real and locate the settings you’ll use next.
Step 11: Watch for verification emails (a common activation blocker)
In some cases, you may receive an email that requires verification or approval—especially if the registry or compliance rules require confirmation of contact information.
If your domain isn’t working as expected, check:
• Your inbox for a verification message
• Spam/junk folders
• The email address associated with your registrar profile
If you find a verification request, complete it as soon as possible. It can affect domain status and functionality.
Step 12: Connect your domain to hosting or DNS (without breaking anything)
If you’re connecting your domain to a hosting provider (like a website host), you’ll typically do it through Nameservers or DNS records.
Option A: Change nameservers (common when using managed hosting)
Your host will give you nameserver addresses. You paste them into Namecheap under “Nameservers” in the domain management area.
Best when:
• Your hosting provider manages DNS for you
• You want a simpler setup for website + email in one place
Option B: Keep Namecheap DNS and edit records (more control)
You can keep Namecheap as your DNS manager and update records like:
• A record (points the domain to a server IP)
• CNAME (points a subdomain like www to another domain)
• MX (routes email through a provider like Google Workspace)
Best when:
• You want granular control
• You’re connecting multiple services (website, email, landing pages, tools)
• You’re comfortable managing DNS
The “don’t panic” note about propagation
DNS changes can take time to spread globally (often minutes, sometimes longer). If your site doesn’t resolve immediately, it’s not always a mistake—just propagation delay.
Mini case study: A practical setup for a new AI tools blog
Let’s say you’re launching a U.S.-focused blog about AI productivity tools.
A sensible approach:
• Buy the .com domain and enable privacy
• Turn on auto-renew because the domain becomes your brand asset
• Register for 2–3 years if you’re committed to publishing consistently
• Point nameservers to your hosting provider if you want hands-off DNS
• If you plan to use a dedicated email provider, decide early whether email DNS will be managed by the host or by Namecheap
A quick execution checklist:
• Purchase confirmed in dashboard
• Expiration date recorded
• Verification emails completed
• DNS configured (nameservers or records)
• www version works (if you use it)
• HTTPS is enabled via your hosting platform (most do this automatically)
Troubleshooting: Common problems and how to fix them (symptom → cause → fix)
“My domain doesn’t work, but I just bought it”
Likely causes:
• Pending verification email
• DNS propagation delay
• DNS not configured yet (domain exists but points nowhere)
Fix:
• Check email for verification requests
• Wait a bit and re-check
• Confirm nameservers or DNS records are set
“I purchased the wrong domain (typo)”
Likely cause:
• Missed the typo check during checkout
Fix:
• Immediately review refund/transfer policies in your account
• If you must keep it temporarily, consider also buying the correct domain and redirecting
“My info is showing up publicly”
Likely cause:
• Domain privacy is disabled or not applied
Fix:
• Go to domain management → privacy settings
• Enable privacy and verify it’s active
“My website is up, but email isn’t working”
Likely cause:
• Missing MX records or incorrect email DNS setup
Fix:
• Confirm your email provider’s MX records are entered correctly
• Verify you didn’t switch nameservers away from where email DNS was configured
“I changed nameservers and now something broke”
Likely cause:
• Switching nameservers moves DNS control to a different provider; previous records may no longer apply
Fix:
• Confirm which platform is currently authoritative for DNS
• Recreate required records (A/CNAME/MX) in the correct DNS manager
Security and privacy best practices (worth doing on day one)
Registrar access is a control panel for your entire online identity. Treat it like a banking login.
Do this immediately:
• Use a password manager and generate a strong password
• Enable multi-factor authentication if available
• Keep domain privacy enabled
• Avoid sharing registrar access broadly—use role-based access if you’re managing domains for a team
• Keep your registration email address stable (don’t use a temporary inbox)
Alternatives and decision guide (when Namecheap isn’t the best fit)
Namecheap is a solid choice for many individuals and small businesses, but your best registrar depends on what you optimize for:
• If you want a one-stop website builder + domain management, a hosting-centric provider may simplify onboarding.
• If you manage many domains and need enterprise controls, look for registrars with advanced user permissions and auditing.
• If you prioritize long-term predictability, focus on transparent renewal pricing, reliable support, and strong account security features.
A good decision process:
• Compare first-year vs renewal cost
• Confirm privacy availability and pricing
• Check account security options (MFA, alerts)
• Ensure DNS management fits your technical comfort level
FAQ
Next steps: Make your domain “production-ready”
Once your purchase is confirmed and your domain is active, your next move is to connect it to whatever you’re building: a website host, a landing page platform, or an email provider. Start by choosing whether your hosting provider will manage DNS (nameservers) or whether you’ll manage DNS at the registrar (records). Then verify the basics: your site loads, www resolves if you use it, and your renewal and privacy settings match your intent. That small upfront discipline is what keeps your domain stable for years—without surprise downtime or “how did my info end up online?” headaches.